How I built an open air PC case - DIY Style! Part2
Mission: To try and build a DIY PC benchmarking case!
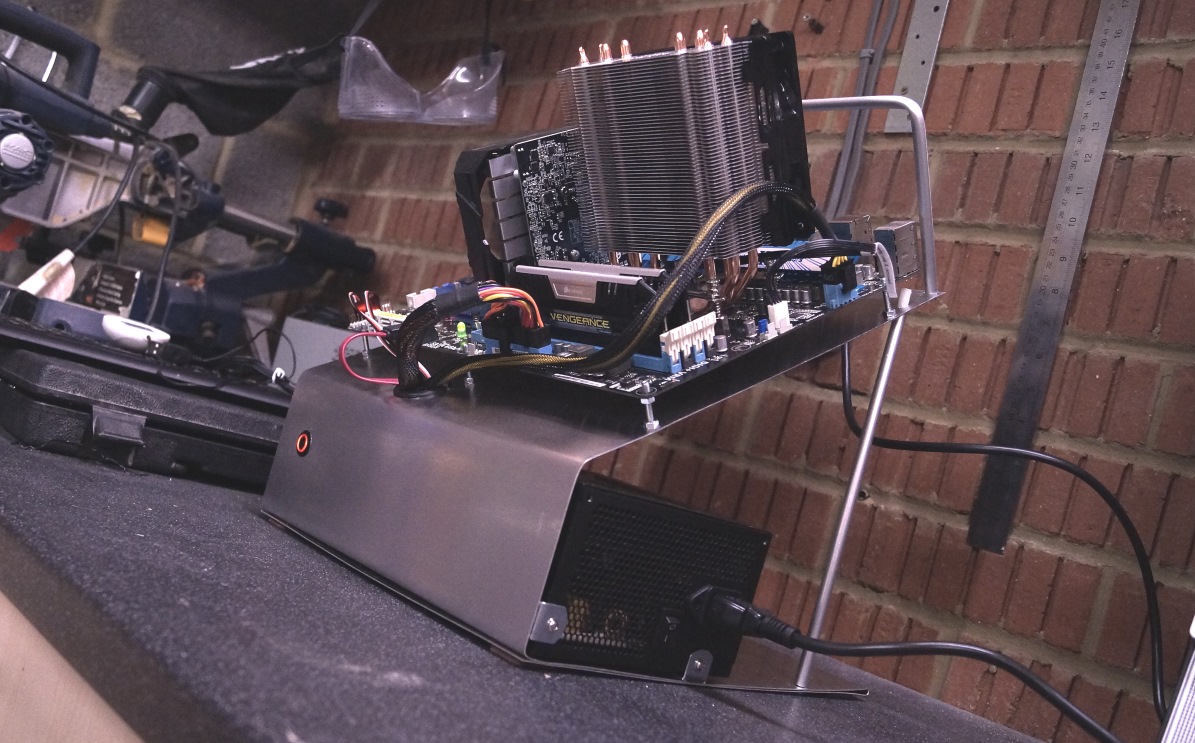
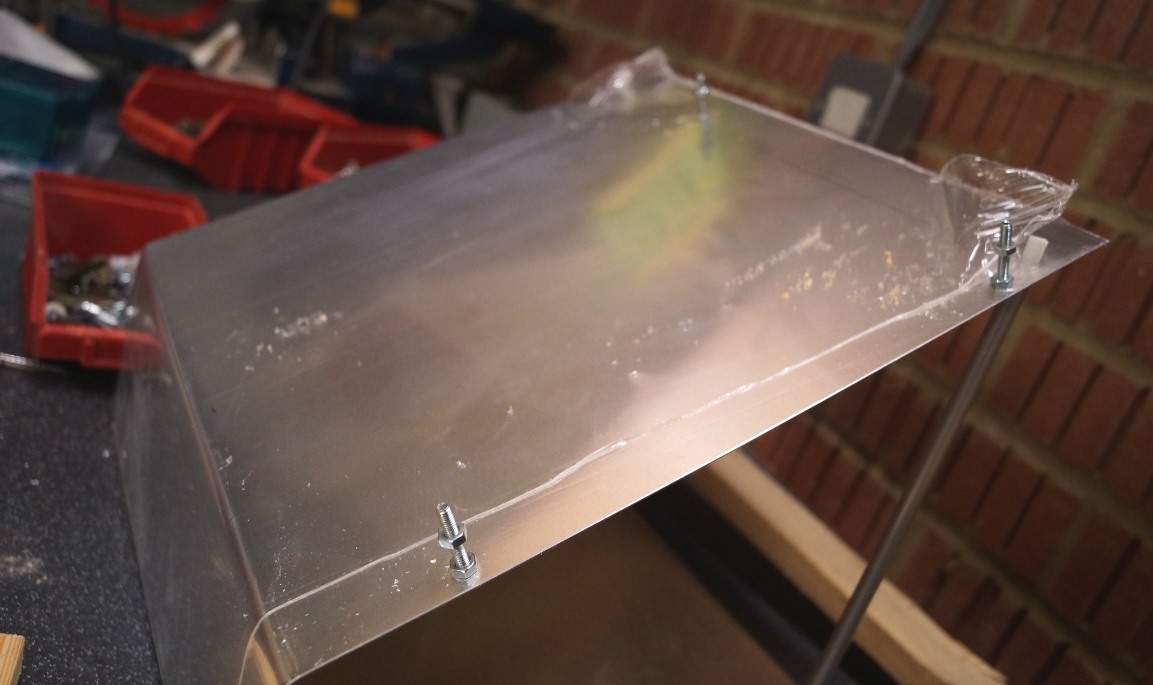
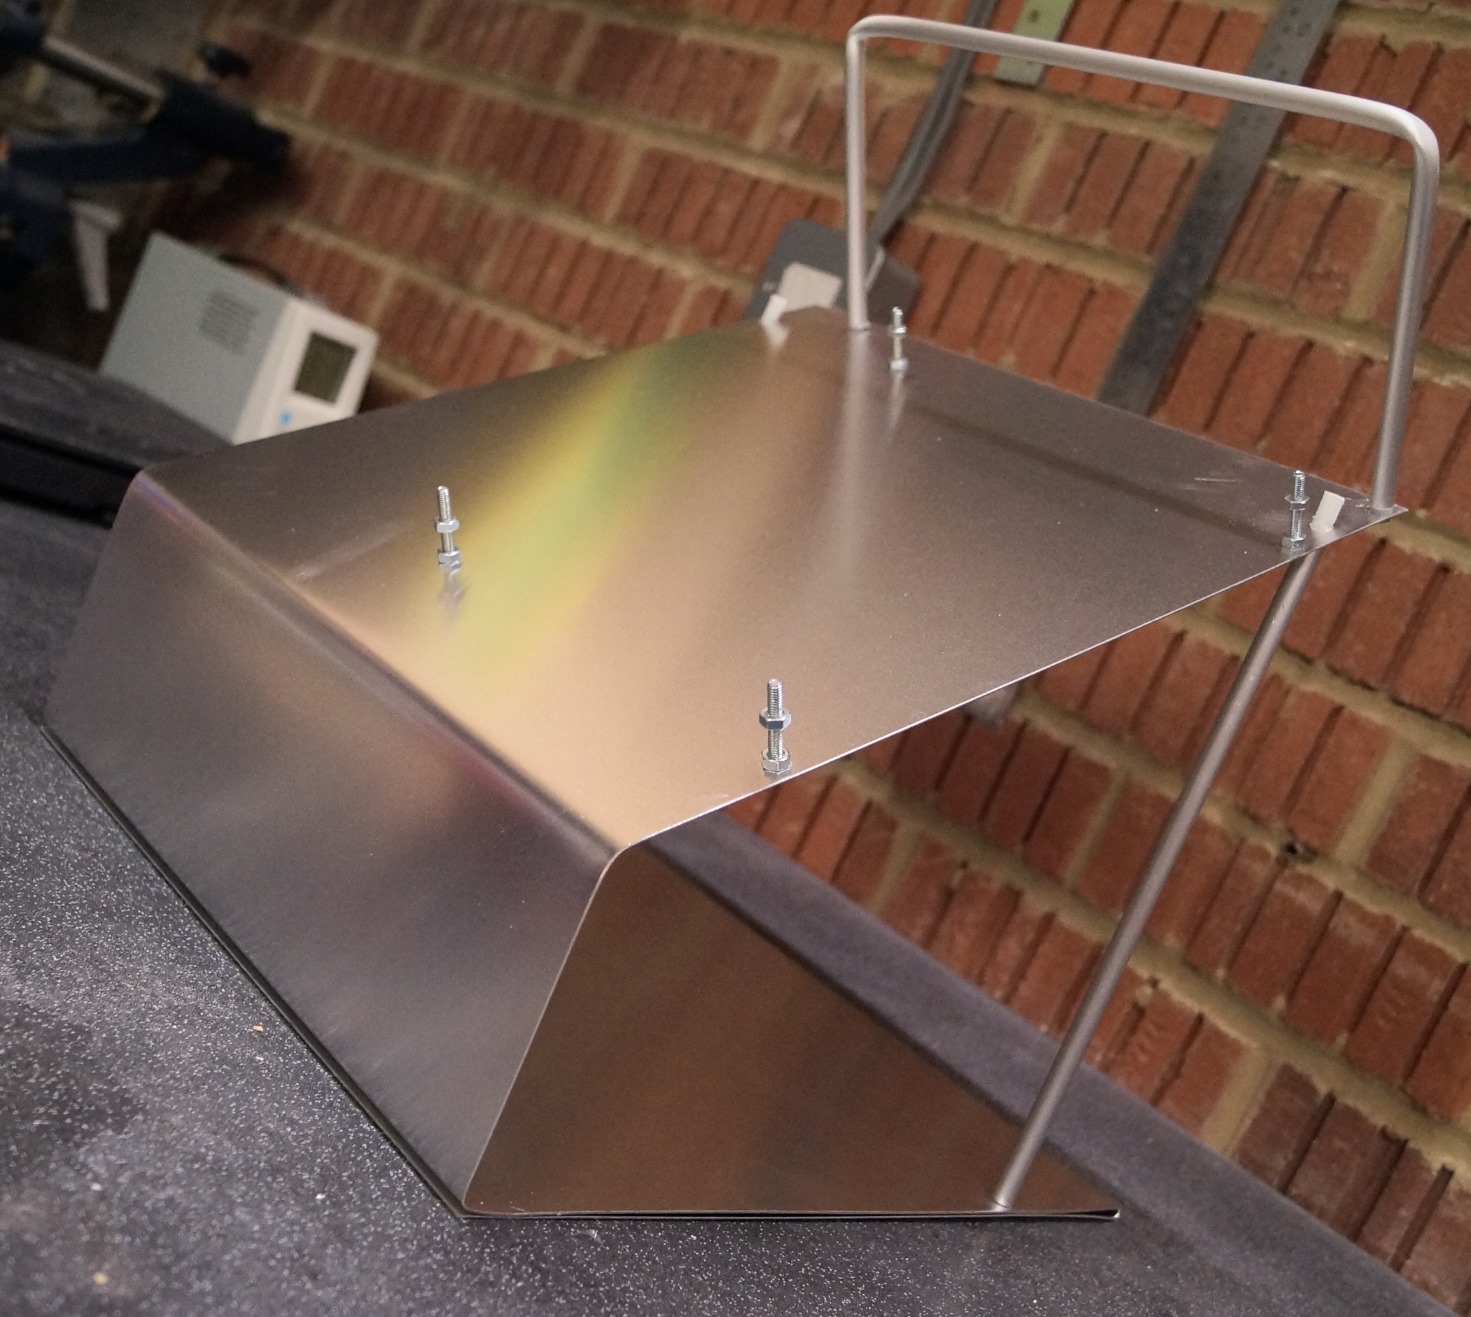
With the case now taking shape my next task was to mark and drill out holes for the motherboard.
Using an old motherboard I traced were the holes would go. Then, once drilled I used bolts with nuts to act as adjustable motherboard supports.
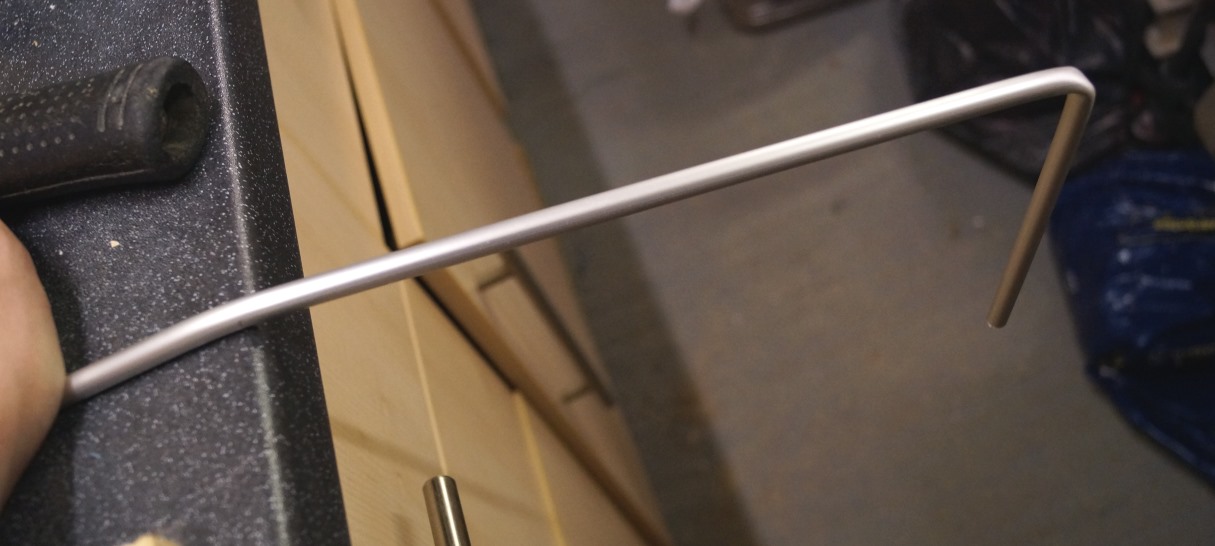
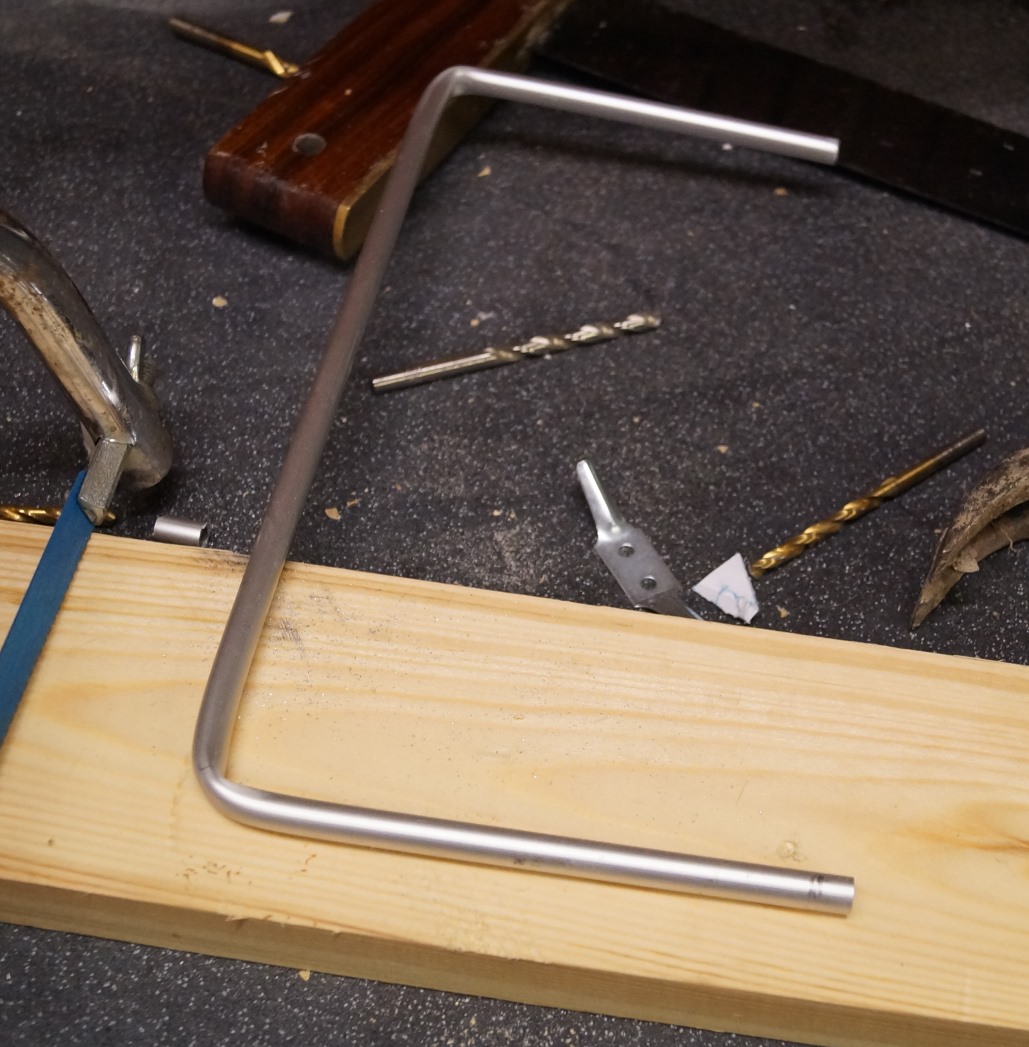
Next moving onto the graphics card, some modern GPU's are quite heavy so I needed to add some support. To do this I used the remaining aluminium bar and bent it to form a bracket. I could then attached this to the motherboard area using screws.
To keep things tidy I fixed the power supply and hard disk drive to the base of the frame. Again to do this I drilled 4 holes in the base and attached the hard disk drive with case screws and 4 washers. The washers created a gap allowing air flow between the base and the hard disk drive.
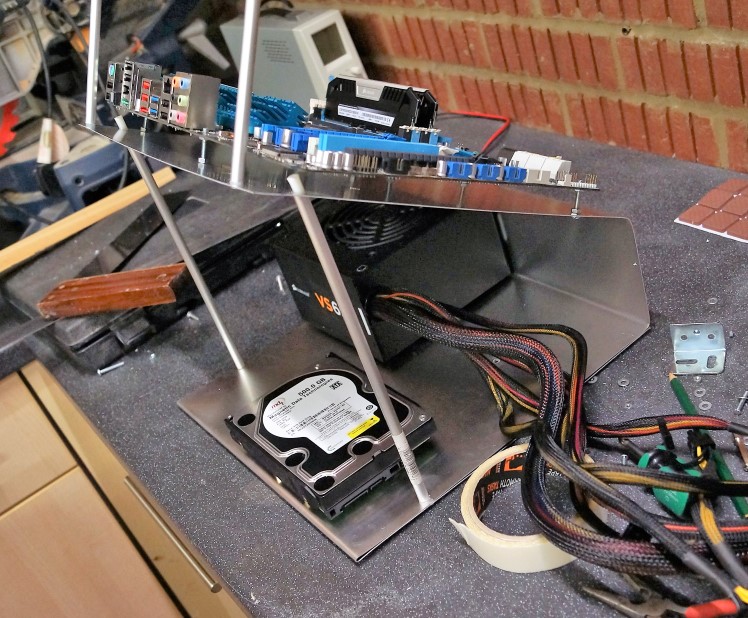
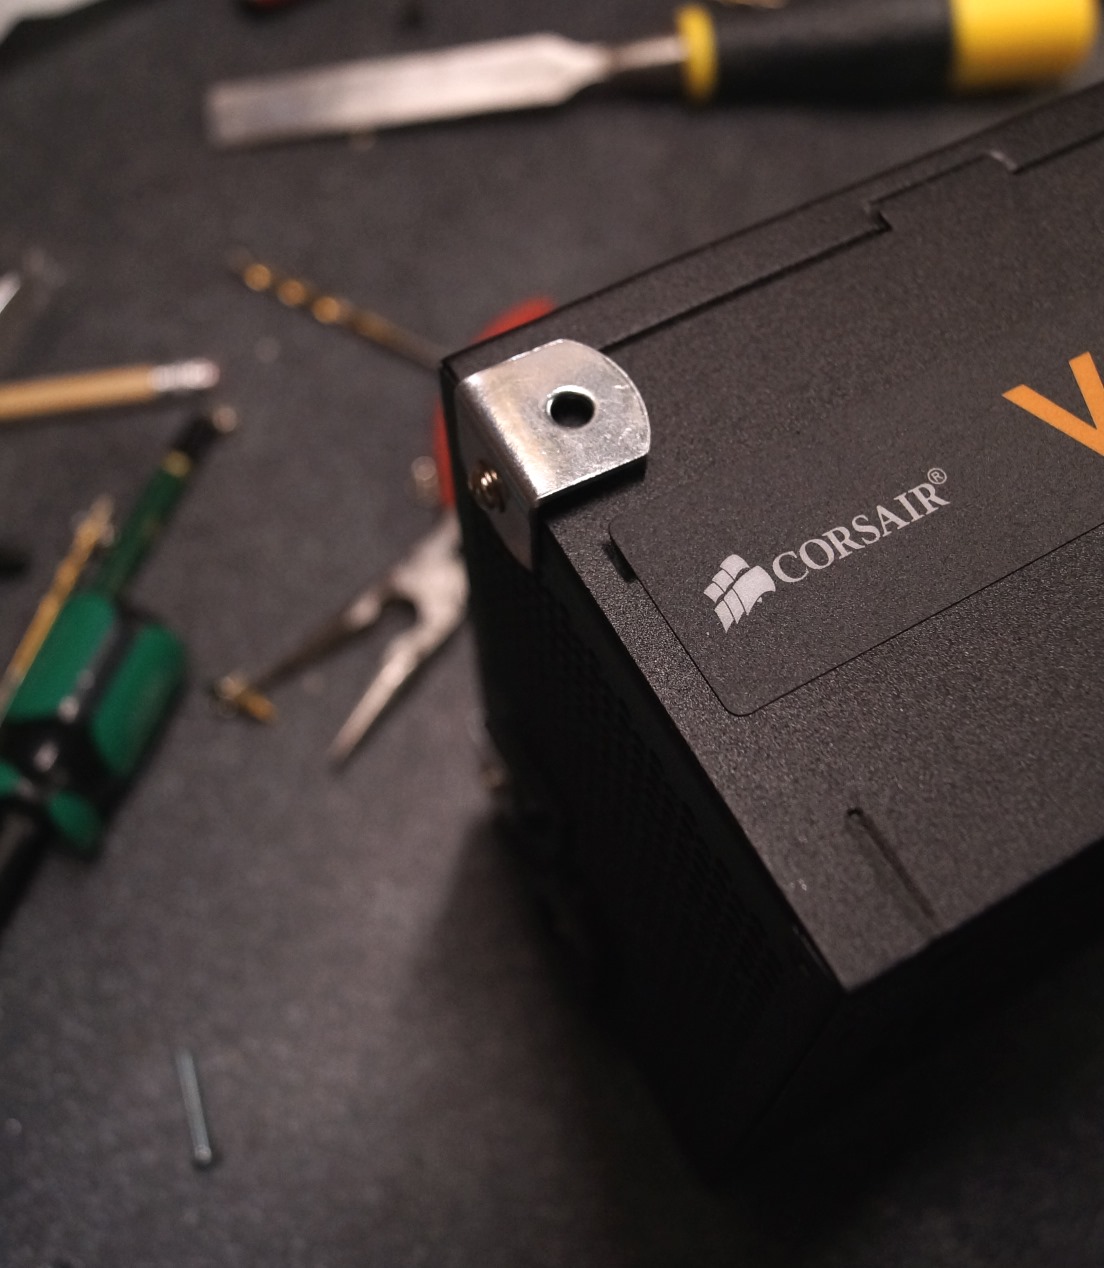
Using the two metal "L" shape brackets I then screwed them into the power supply. On the other side of the brackets I used some double sided tape, I could then firmly press the power supply into place.
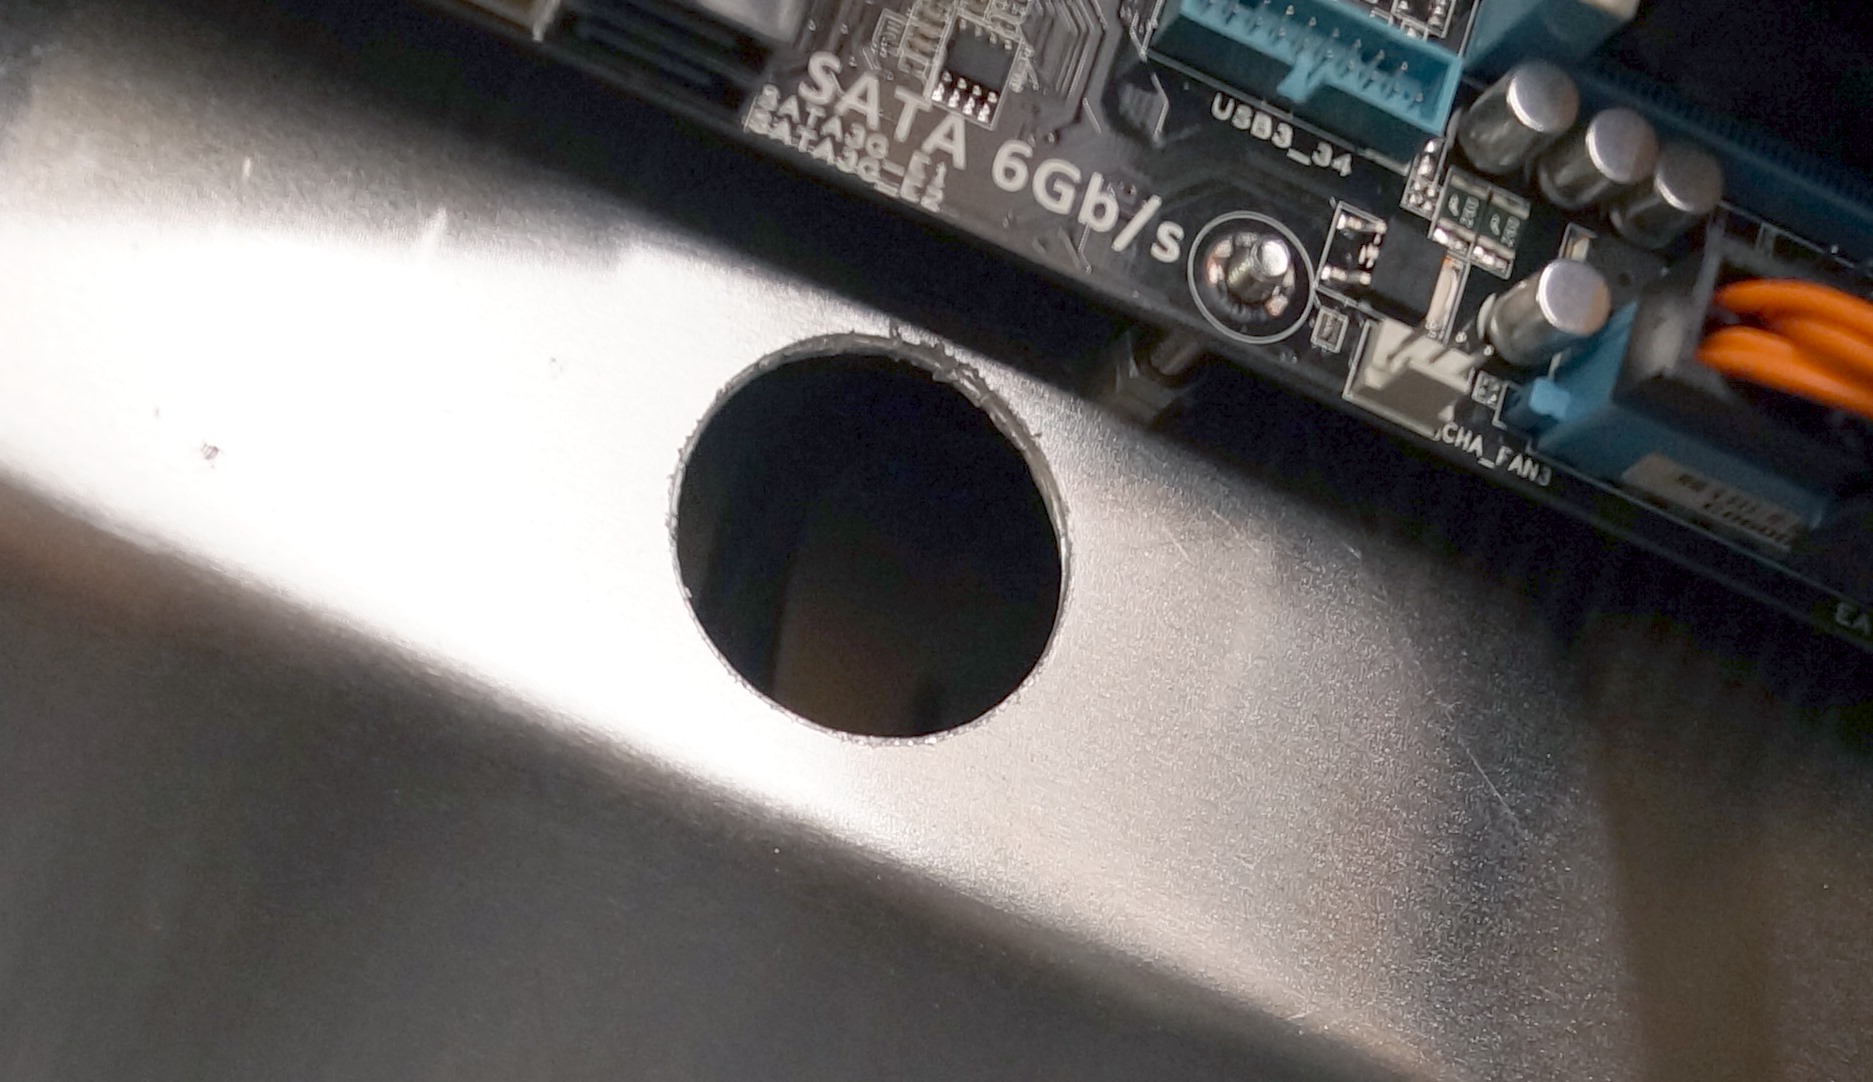
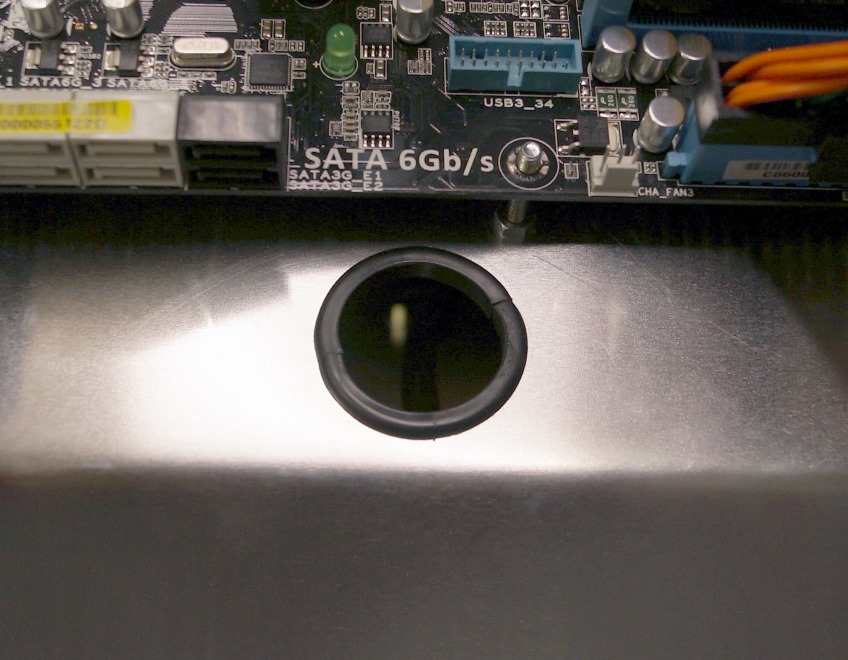
Finally I cut out a small hole for the power switch and another larger hole for the power supply cables to run through.

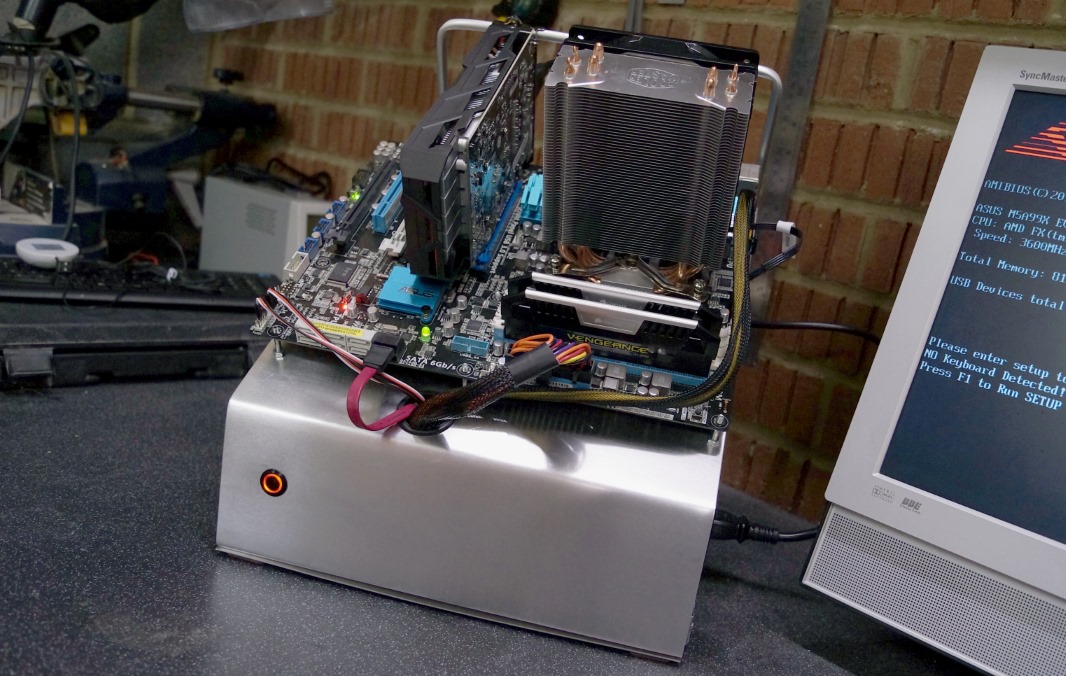
That's it! after soldering on the cables to the power switch it was time to test!