Mission: To Build a Cheap Mini Quadcopter
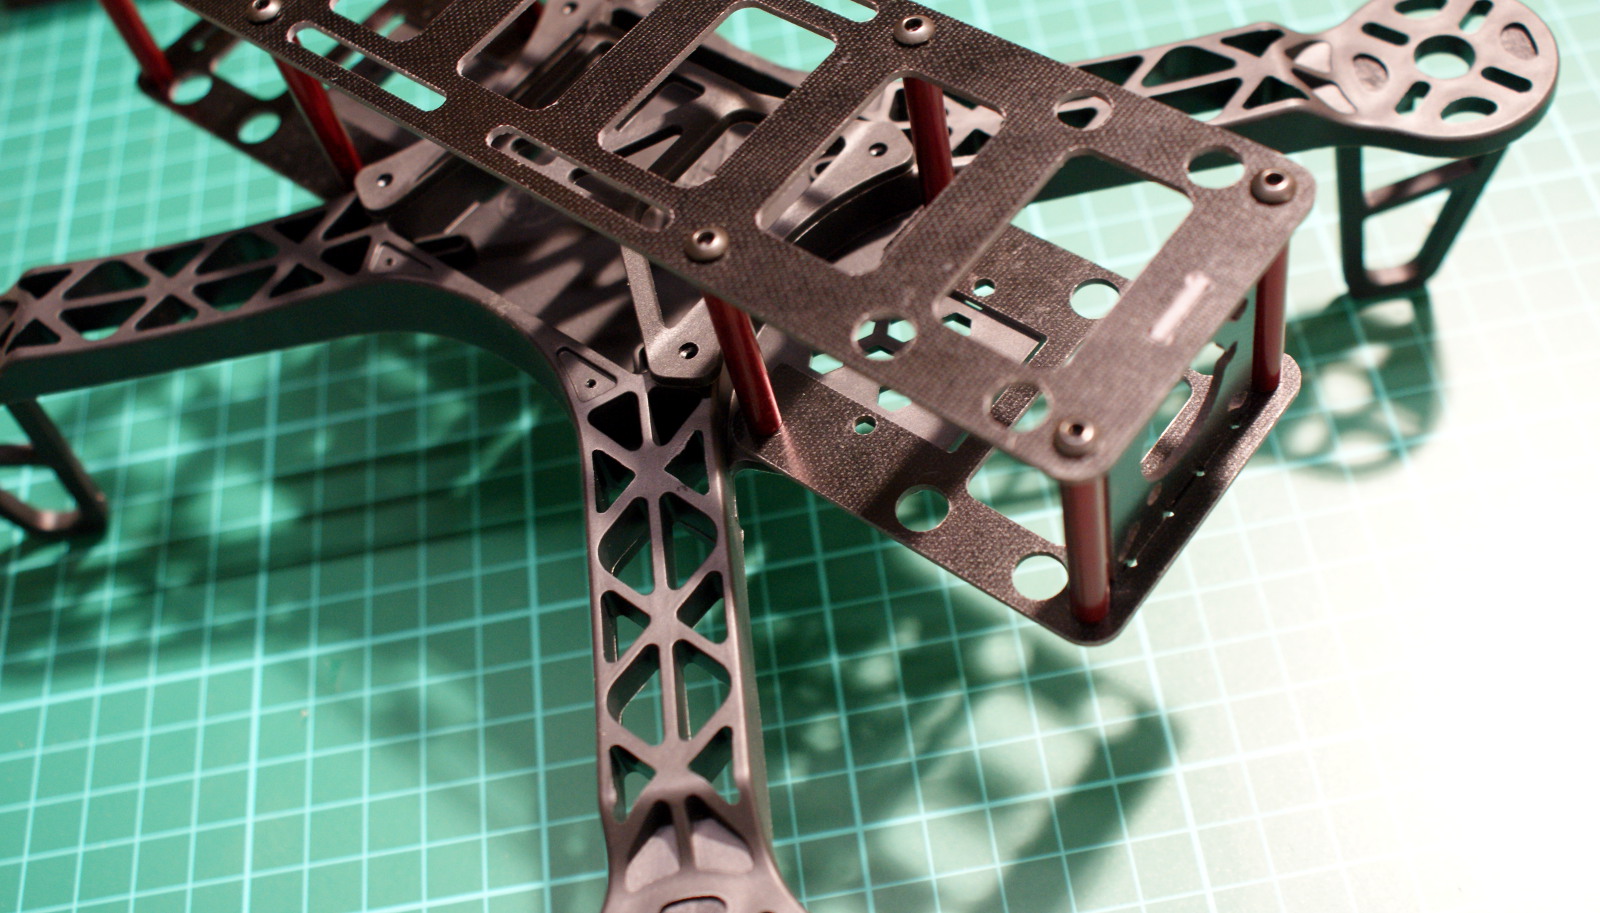
Finally I was ready to move on with building the quad copter. Having never built a quad before I wasn't sure how the parts would go together. First I started to build the frame, after opening the packet I thought some parts were missing! I soon realized that the lower section of the cage is in two parts, in all the photos I had seen it looks like one part. The frame seems quite configurable, you can either use the cage on the top or have it hung down on the bottom side, alternatively you can not bother fitting the cage at all and just use the small plastic cover to go over the controller board. I had chosen to mount the cage on the top side so I could hang a mini FPV camera from the underside and have space for an HD camera within the cage.
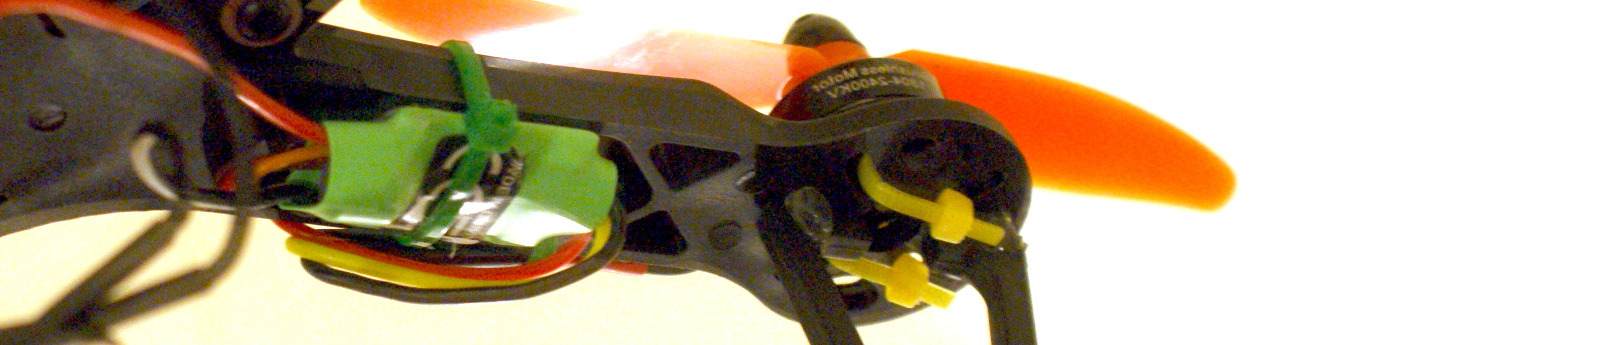
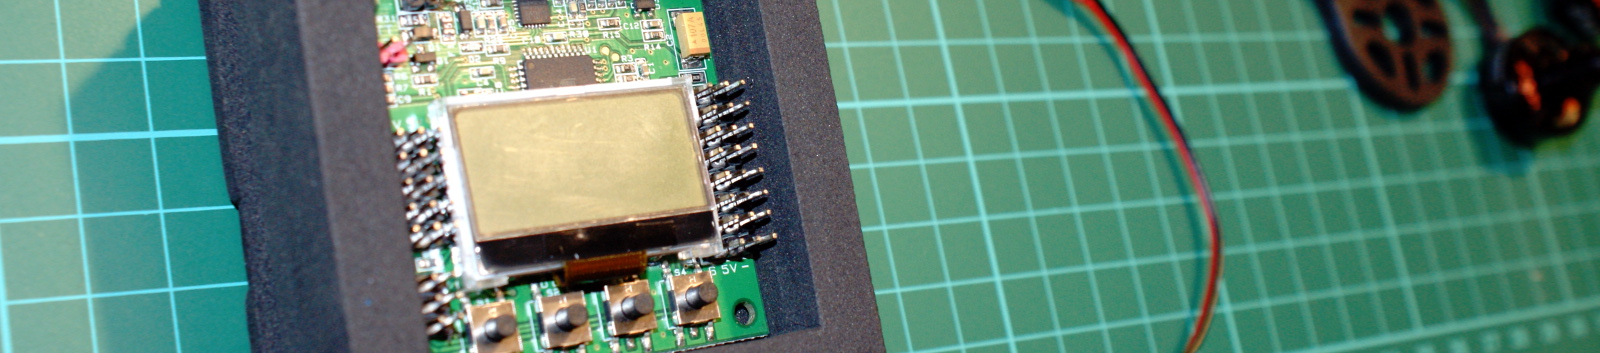
With the frame completed I moved onto the next problem, attaching the motors. Looking on Google images people seemed to of come up with lots of different ideas. I decided to zip tie each motor into place, this seemed to gave a nice firm fit. Next the most important part, adding the KK controller. At first I could not see how to fix it in place, I knew people had glued it in, or used double sided tape but I wanted to be able to remove it easily, so after looking at the frame carefully I noticed 4 small slits in the plastic that are there for you to tap some screws into. So I put a small peace of foam padding on the back of each corner and then screwed the board into place. Now I needed to add the ESC,s which was fairly easy. I just zip tied each one tidily onto each one of the arms, job done!
Now, I was not sure how to power up the KK controller and each one of the four ESC,s. I turned to YouTube to find out what I needed to do. After going off track and watching a whole load of stuff I had worked out how I was going to make my power wiring loom (pictured here). After an hour and a half of chopping and soldering I was finished. Unfortunately it didn't turn out like I originally planned, but it did test fine so I temporarily attached all the ESC power leads. Finally the last part to add was the Orange RX620 receiver which was temporarily zip tied onto the top of the frame. The basic quad was now complete, the only thing left was to setup the KK board. I've found this useful video "KK2.0 initial setup" which was a great help to a newbie like me. With the initial build finished I took the quad on its maiden test flight. See the videos below.
Diatone FPV250 Quad Copter (First Test Flight)