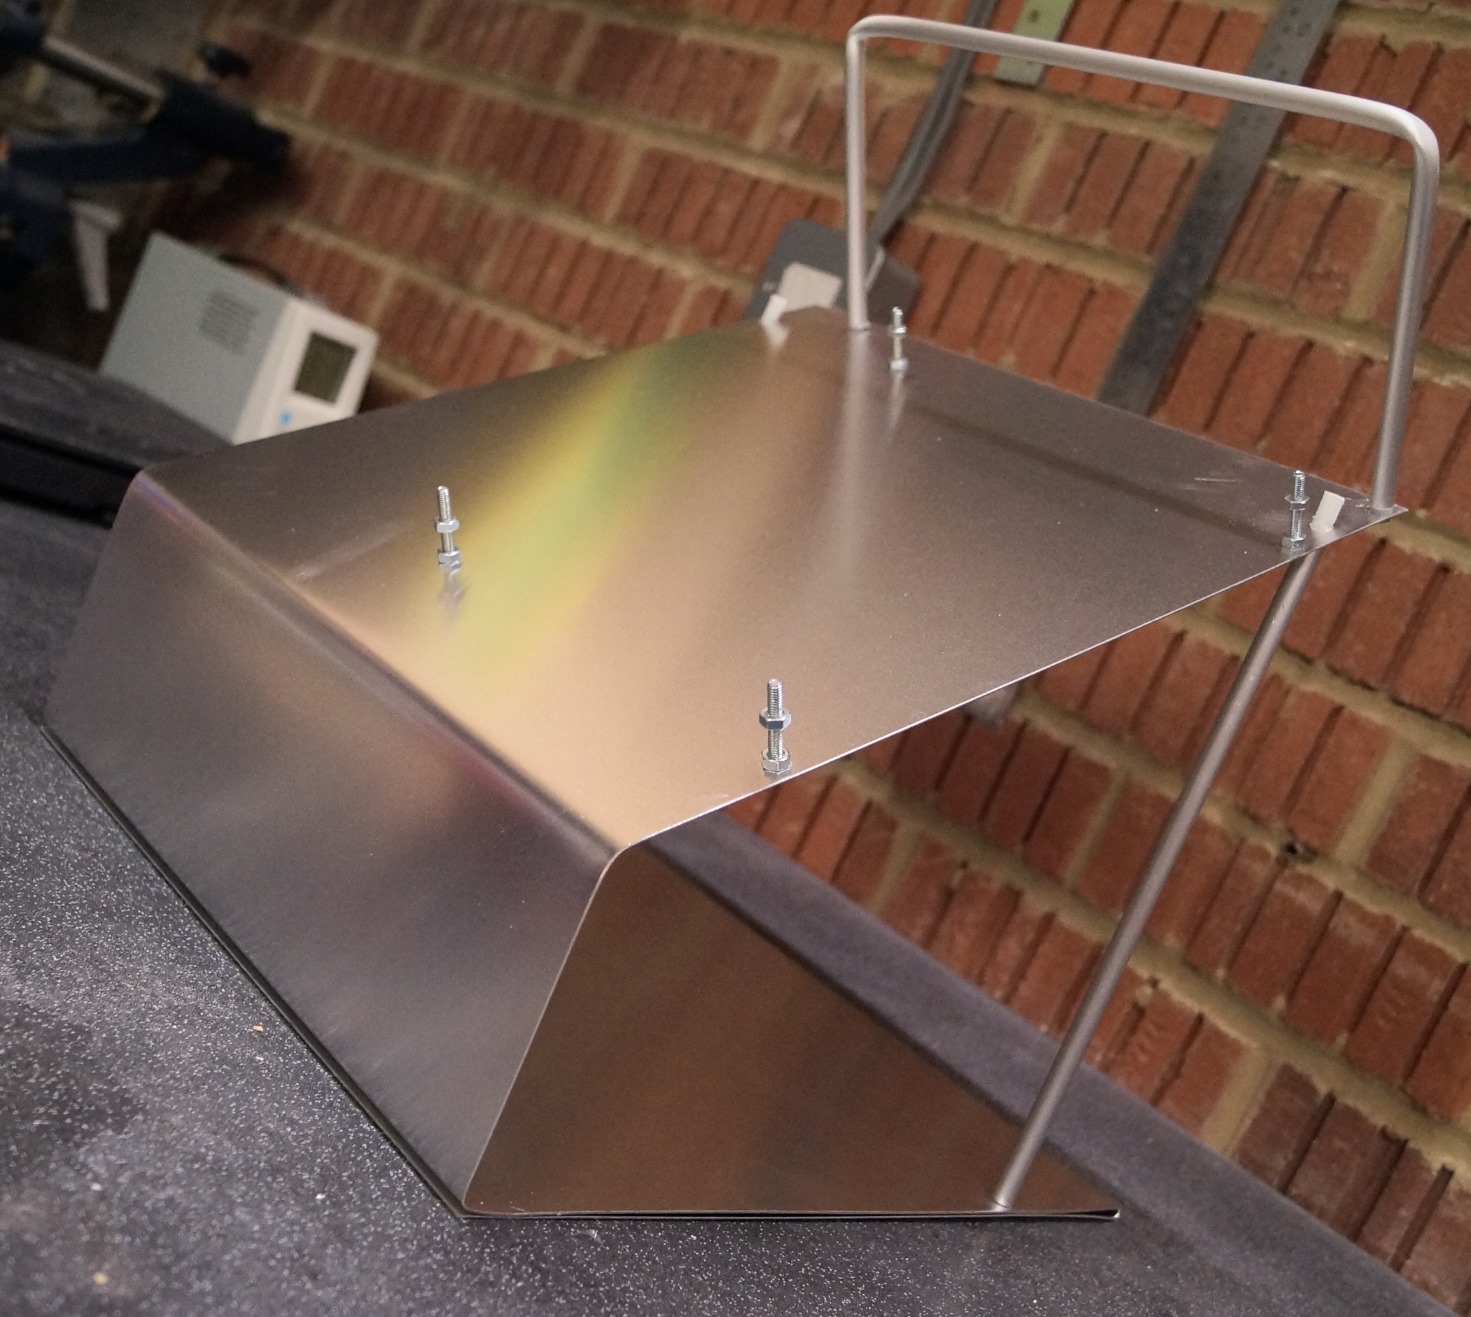
How I built an open air PC case - DIY Style! Part1
Does the side of your PC case never actually get fitted? Do you like testing and getting the maximum out of your PC hardware!
Mission: To try and build a DIY PC benchmarking case!
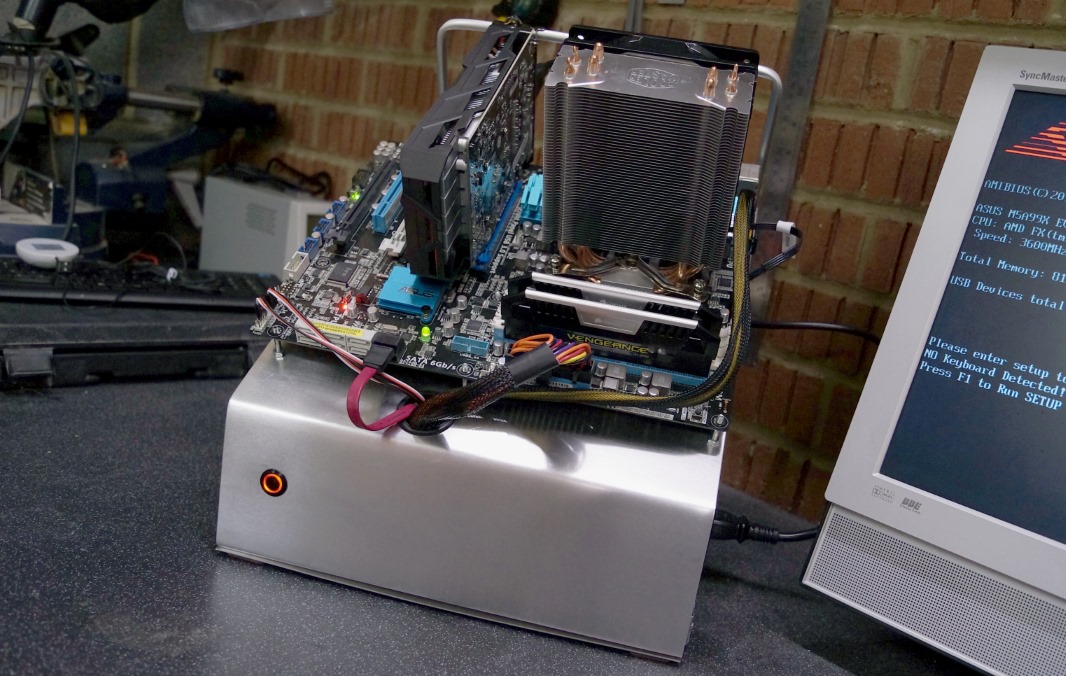
Recently I've been looking at doing some testing with my old AMD FX-8150. Looking online you can find quite a few open air style PC test cases, but unfortunately most of them are expensive, so I decided to build my own test case/frame.
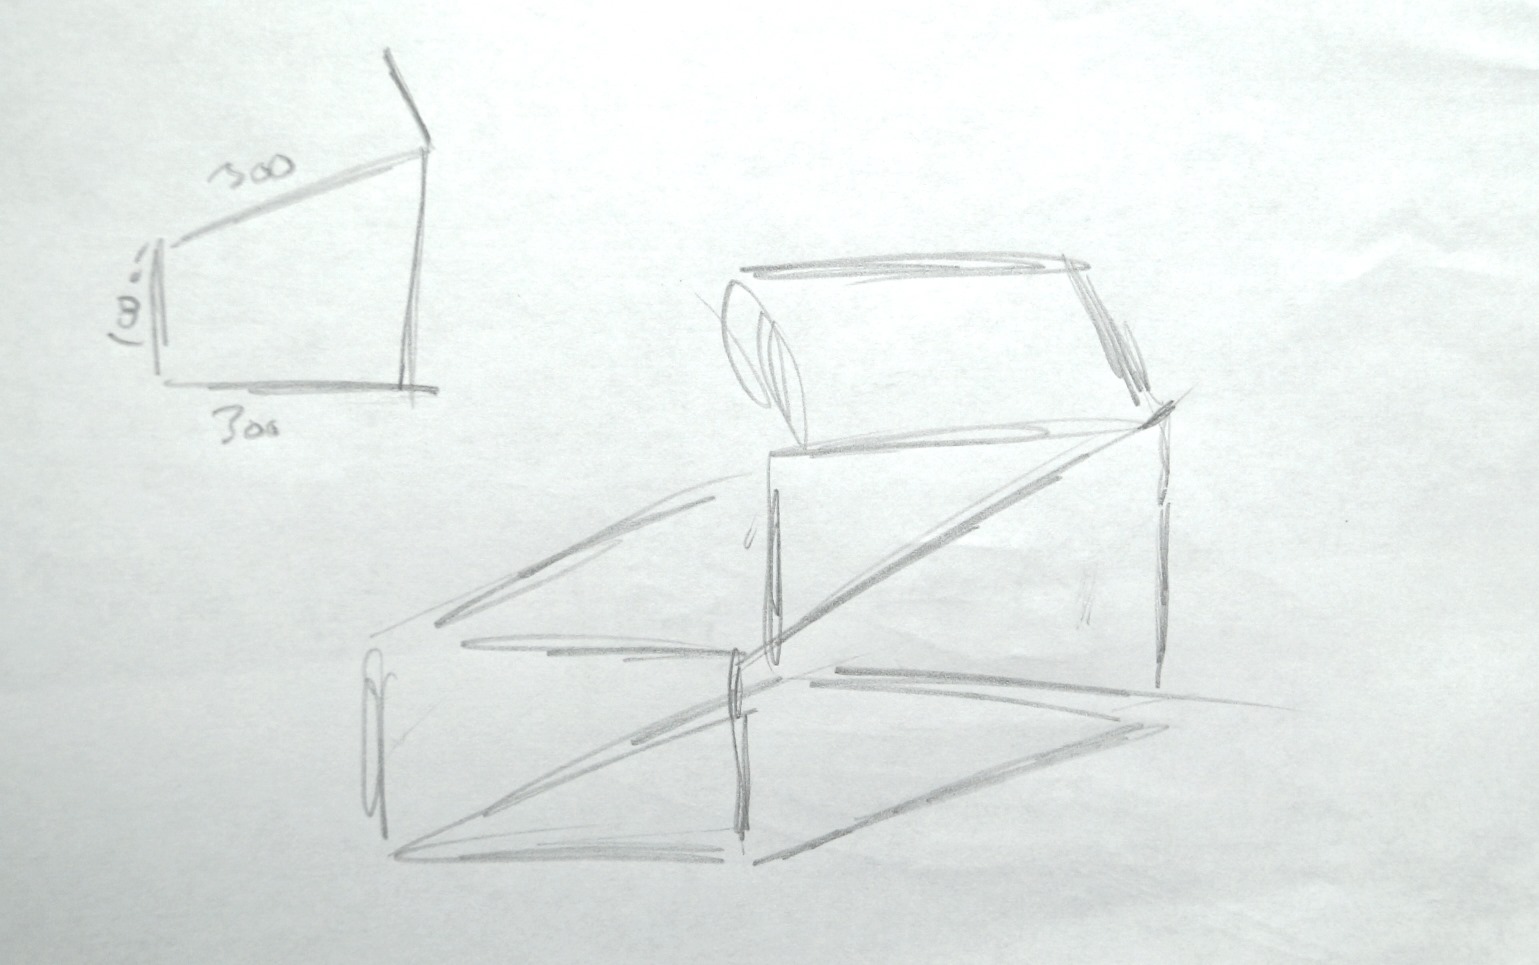
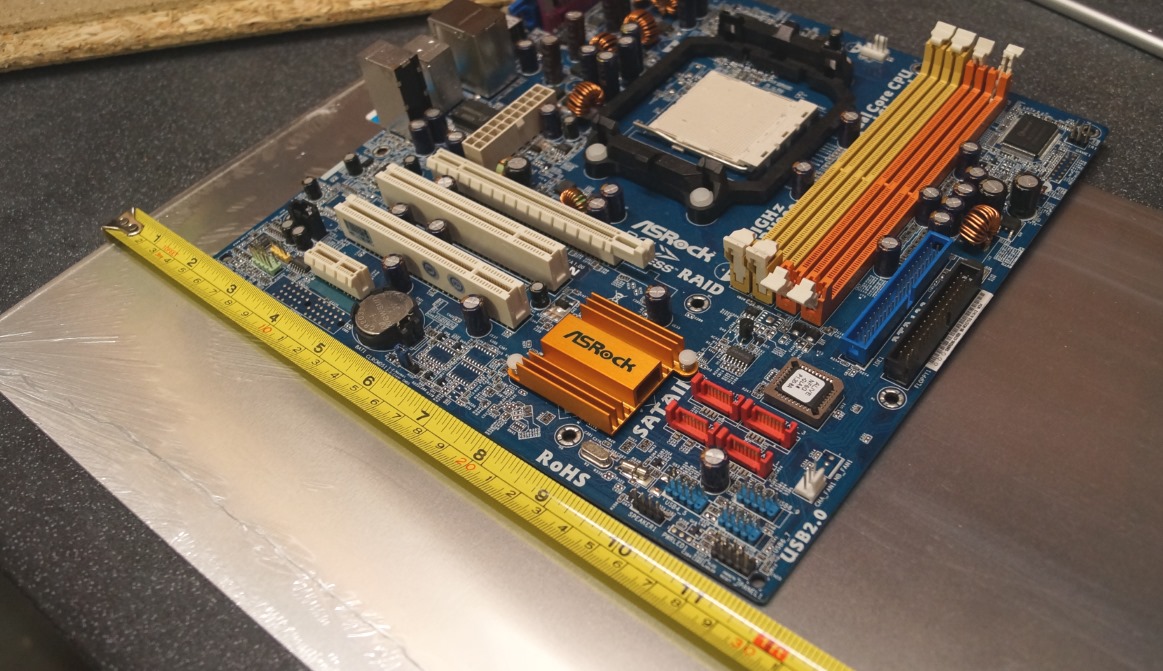
After a little research online I decided to try and recreate a slanted motherboard style frame. Below is my first sketch of what I thought it might look like. It needed to be the right size to fit a full size ATX motherboard and high enough to fit a full size PSU.
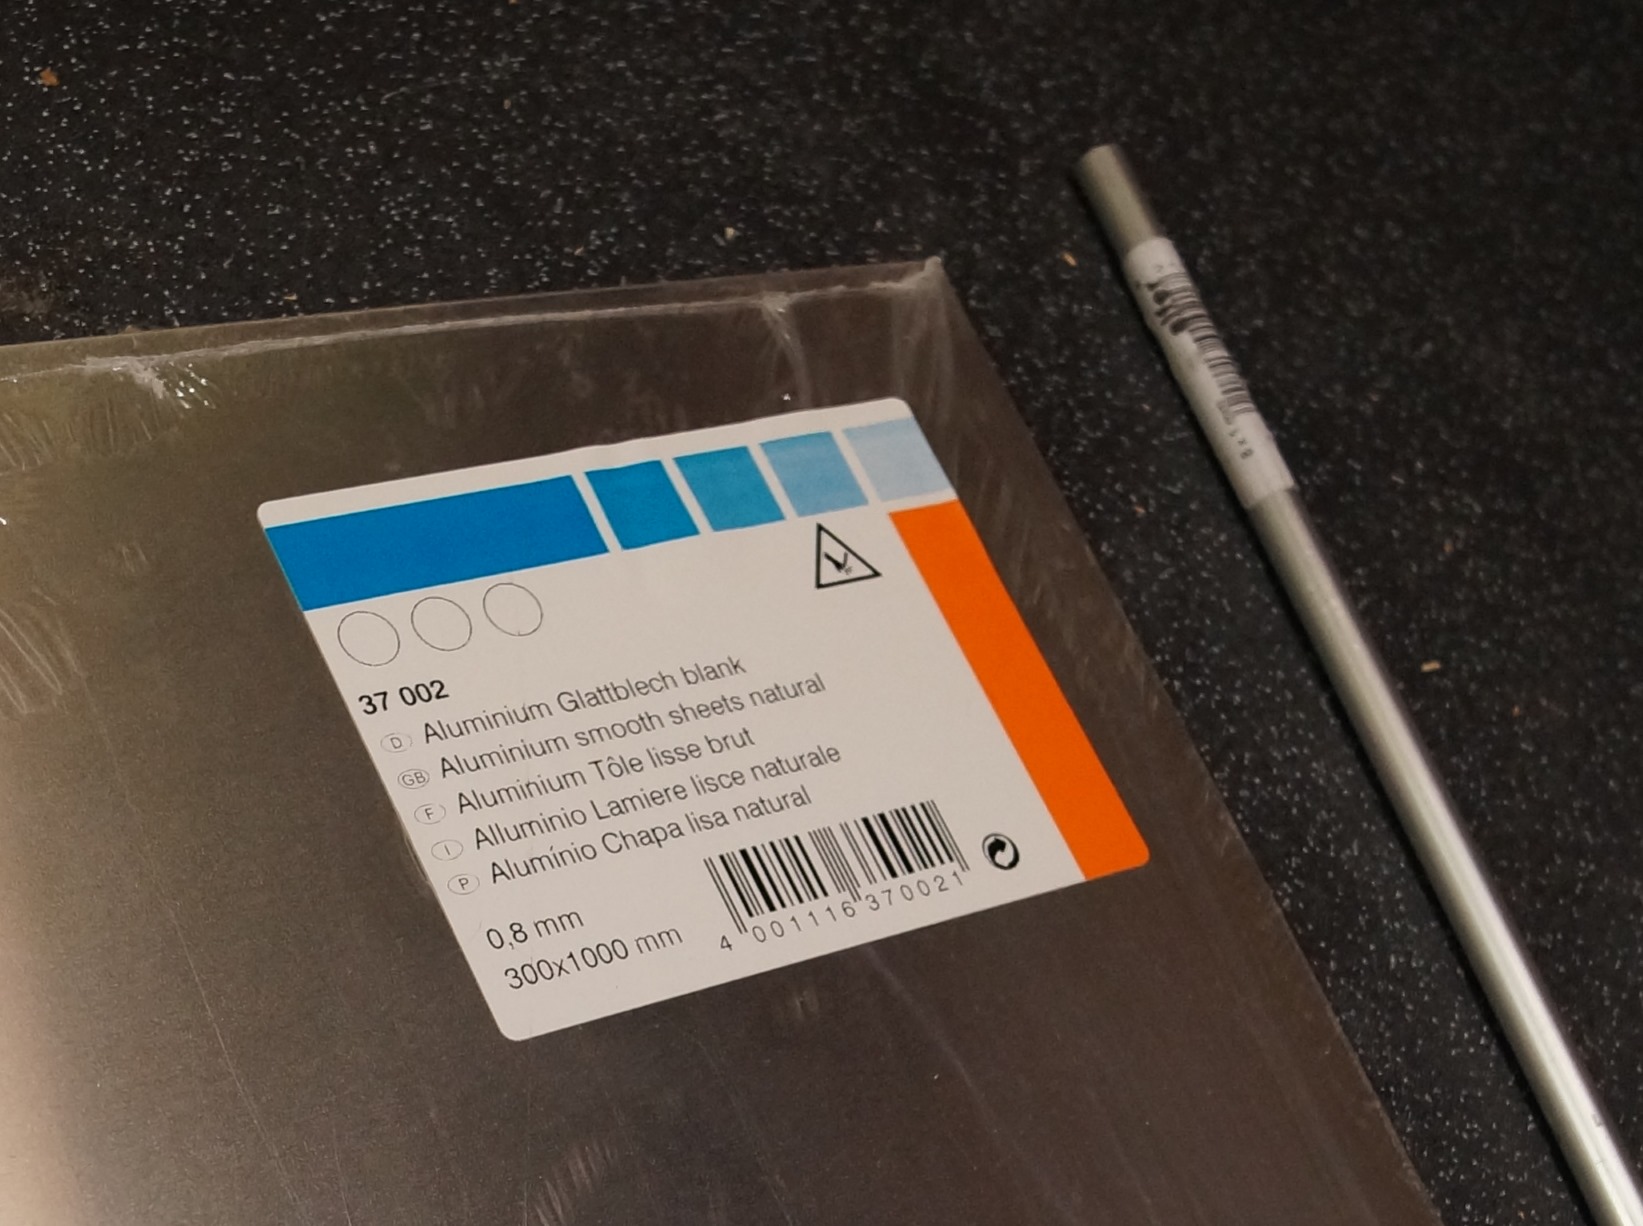
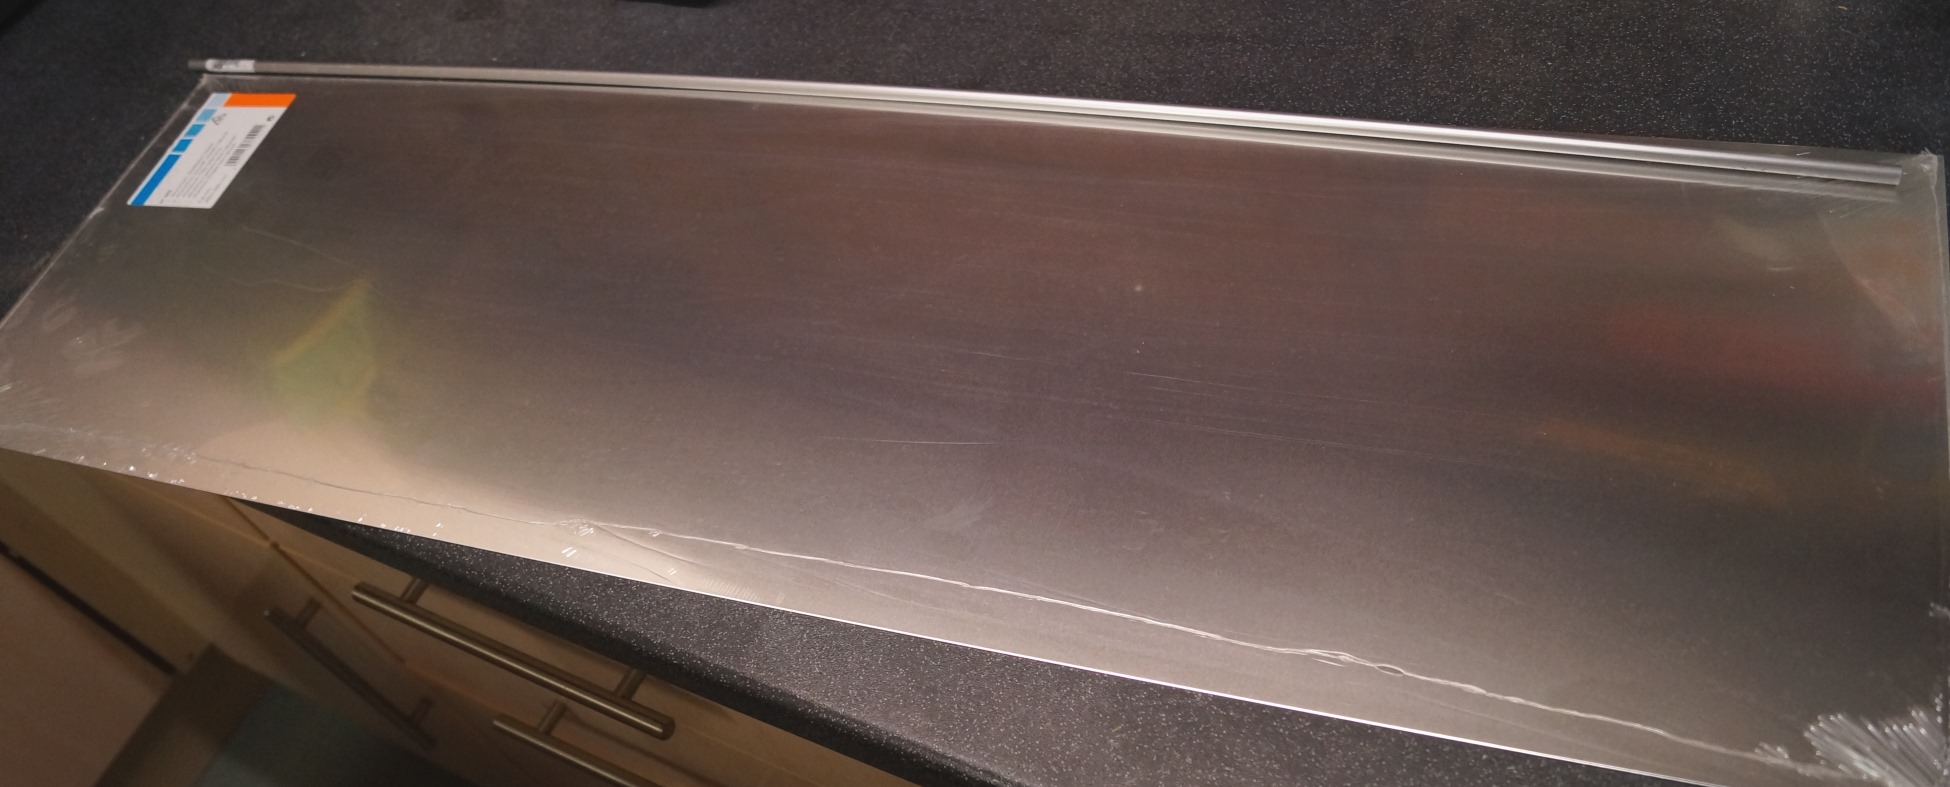
Looking at the material, I decided to use 1 sheet of aluminium 300mm x 1000mm. It looked good, was the right size so no cutting needed and was easy to bend. The motherboard and PSU would also be earthed (please remember that metal and electricity are dangerous!). To give the frame a little more strength I purchased some aluminium bar. This would be used as support struts and also for supporting the graphics card.
Next I marked out where to place folds. To bend the sheet I used two bits of wood with hinges, this would help create an even fold.
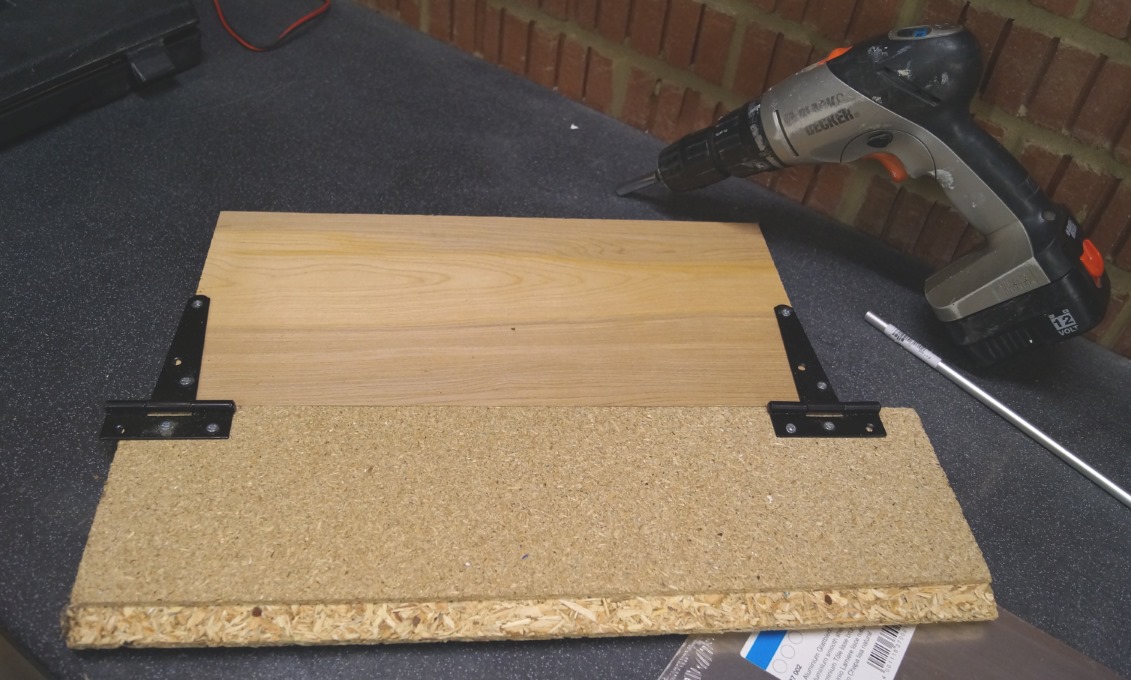
Now moving on to folding the aluminum. This was fairly easy with the "metal bending device" I created. The DIY PC benchmarking case really started to take shape! First I folded the base... this was 180 degree bend.
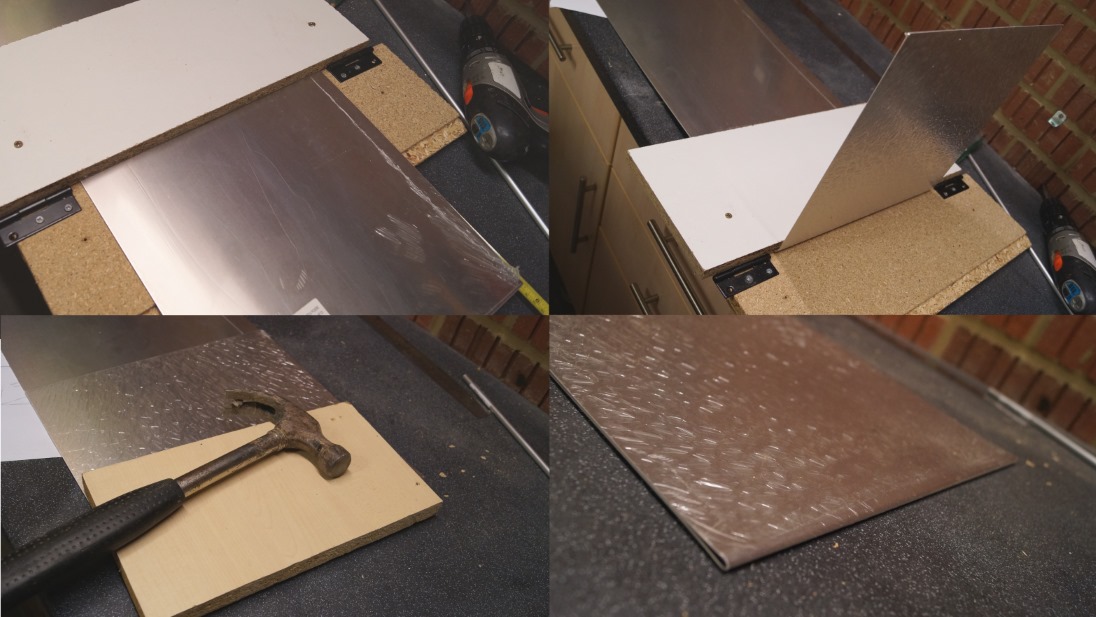
Then I created the vertical wall and finally finishing with the last bend, to make the motherboard area.
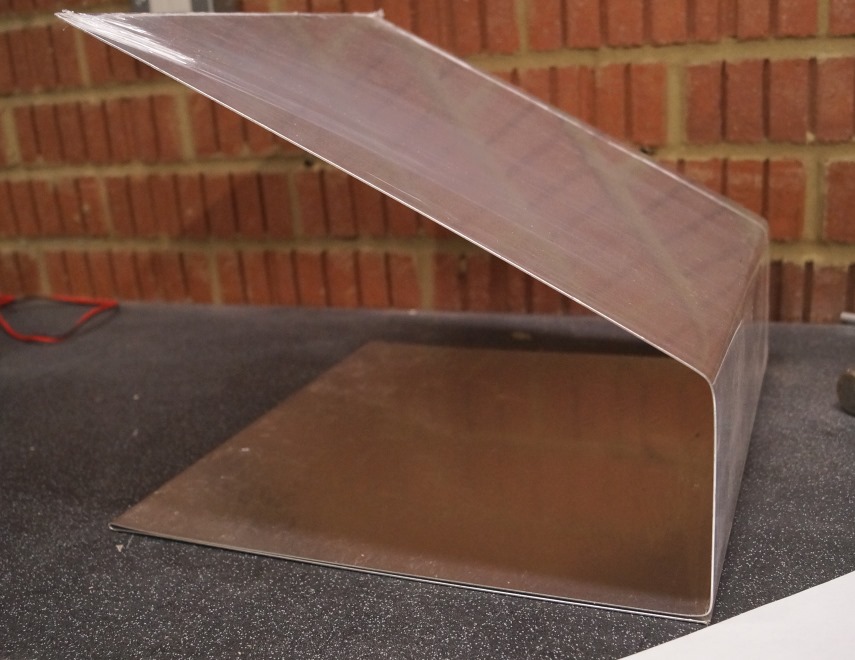
To give the frame more strength, I cut the two struts to the correct length with one end angled.
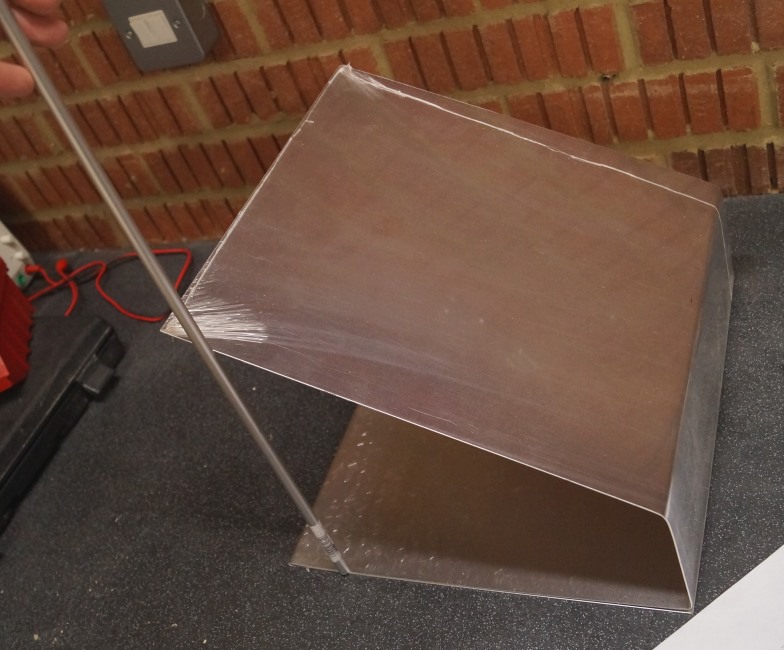
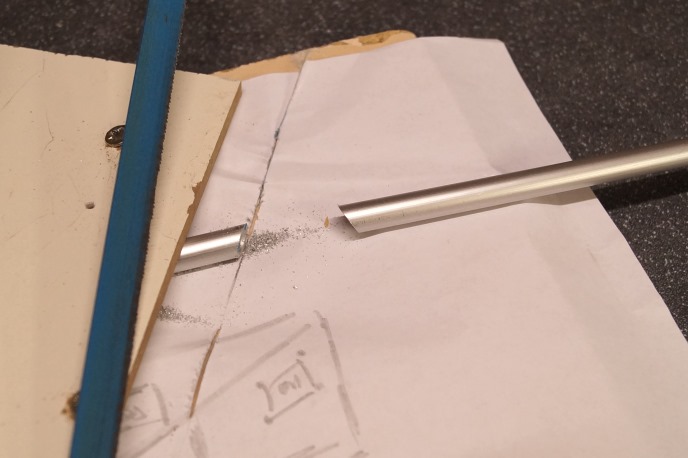
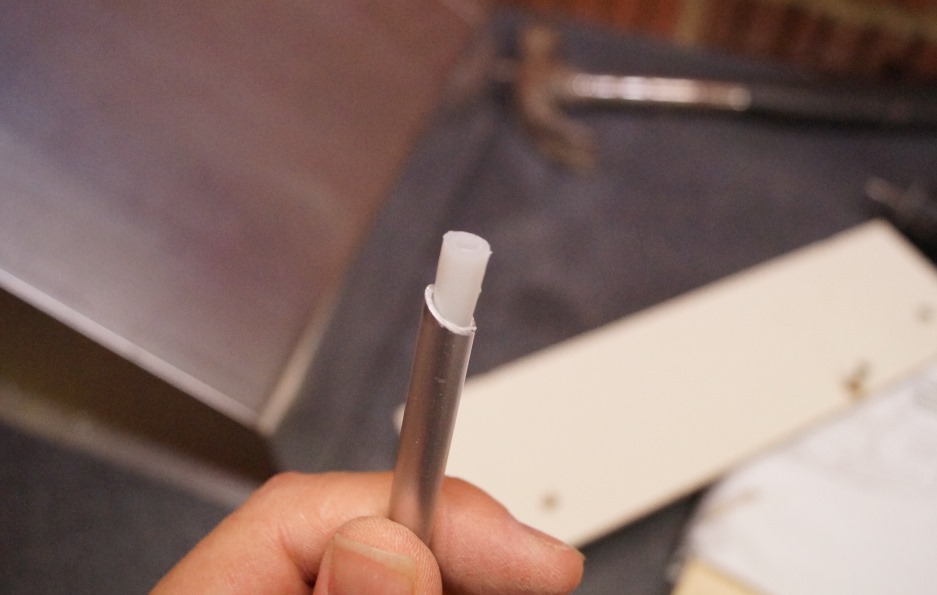
The support struts had hollow cores so I forced wall plugs inside the hollow, this would give me something to screw into.
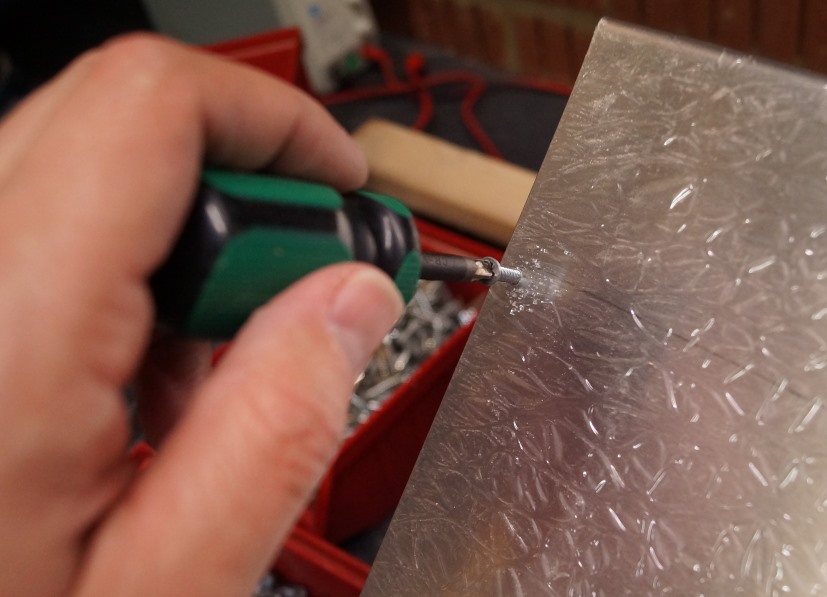
I then used normal wood screws to secure the struts into position.
DIY Benchmarking PC Case Video
- Details
- Written by: Mat White
- Category: How to
How I built an open air PC case - DIY Style! Part2
Mission: To try and build a DIY PC benchmarking case!
With the case now taking shape my next task was to mark and drill out holes for the motherboard.
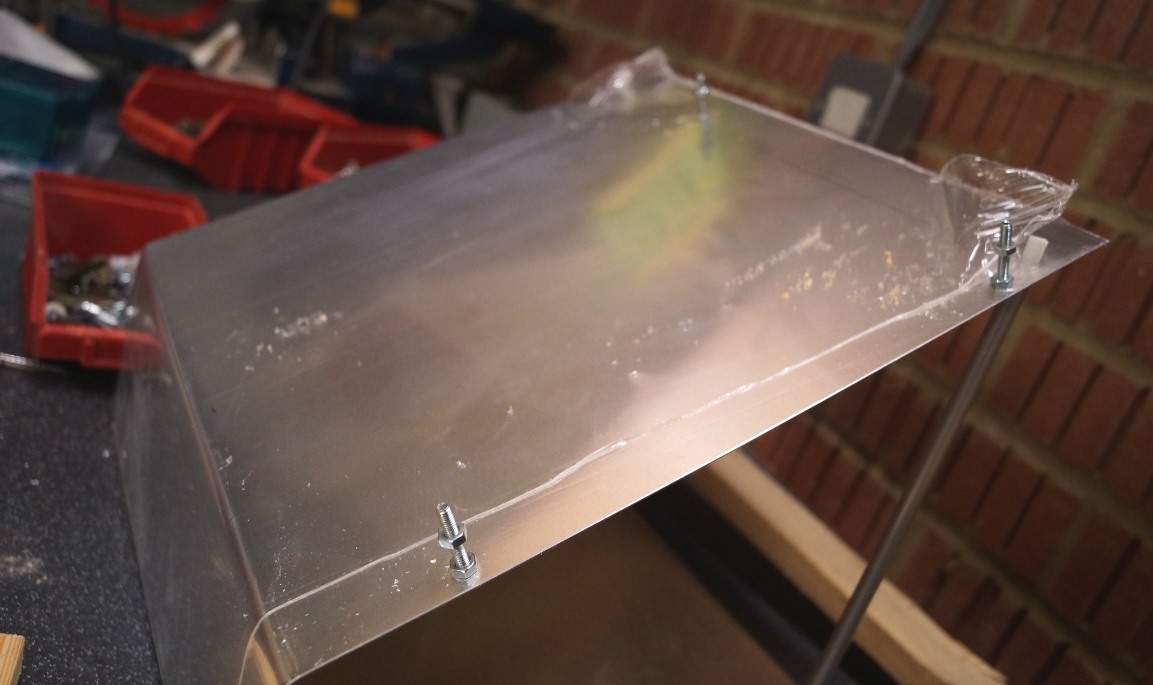
Using an old motherboard I traced were the holes would go. Then, once drilled I used bolts with nuts to act as adjustable motherboard supports.
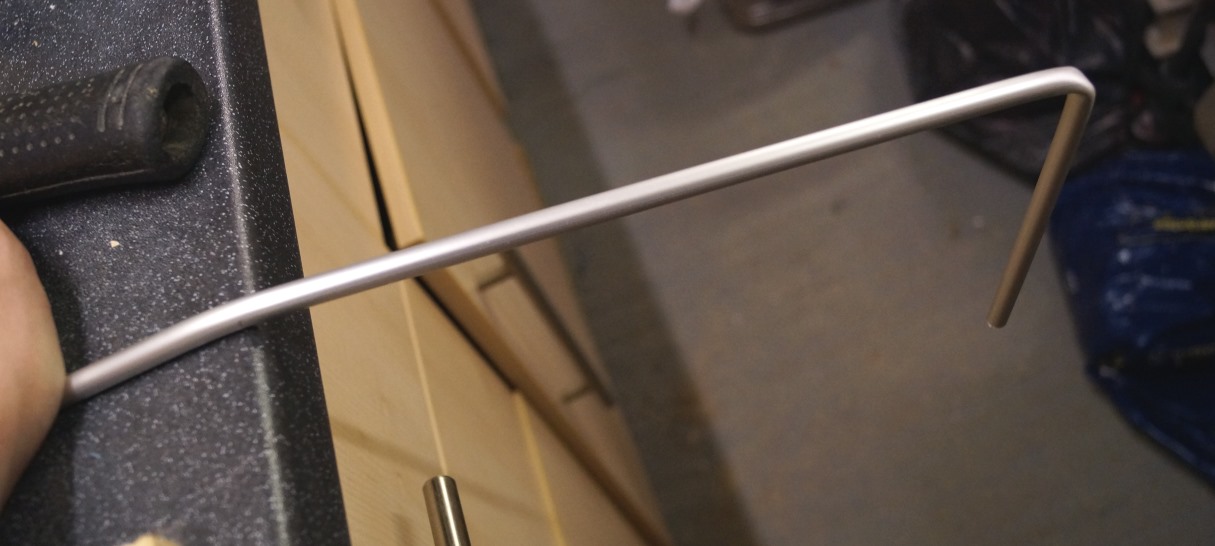
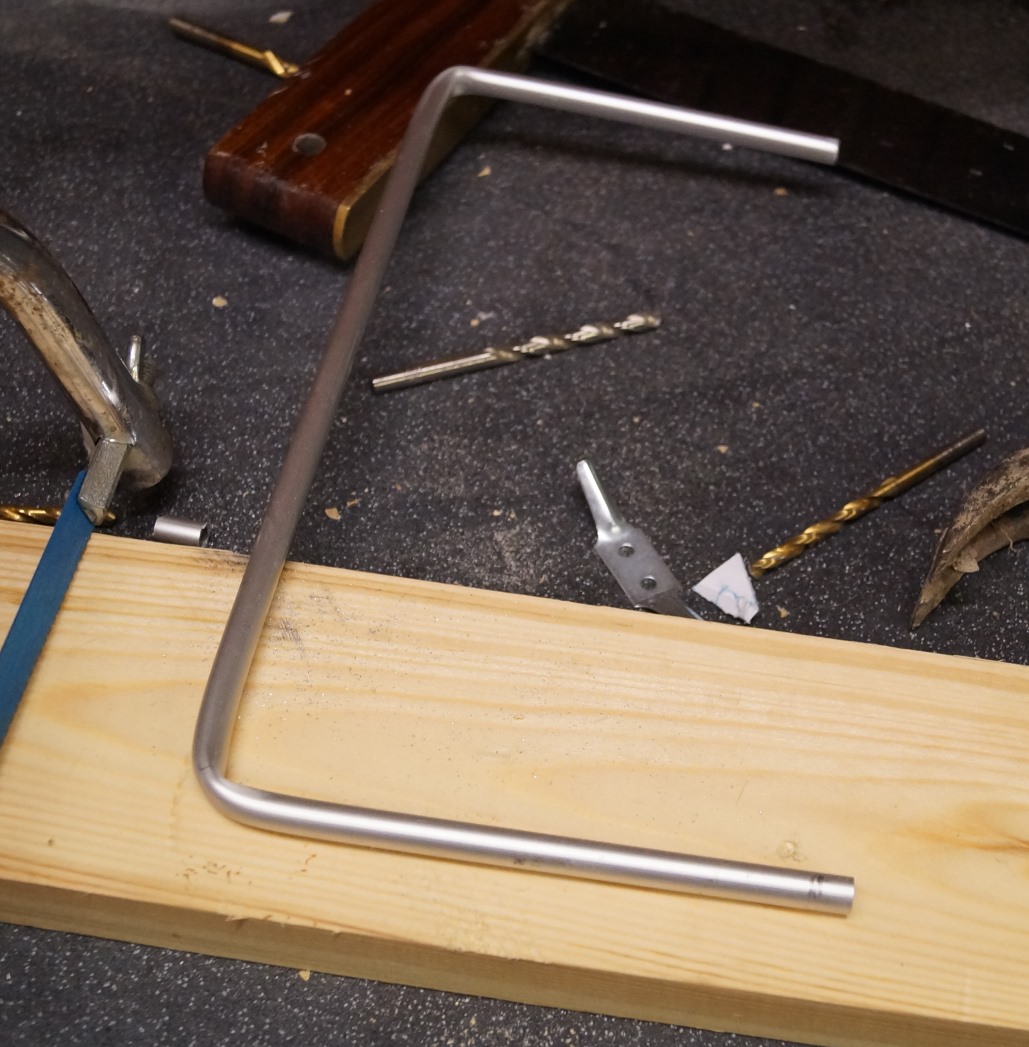
Next moving onto the graphics card, some modern GPU's are quite heavy so I needed to add some support. To do this I used the remaining aluminium bar and bent it to form a bracket. I could then attached this to the motherboard area using screws.

To keep things tidy I fixed the power supply and hard disk drive to the base of the frame. Again to do this I drilled 4 holes in the base and attached the hard disk drive with case screws and 4 washers. The washers created a gap allowing air flow between the base and the hard disk drive.
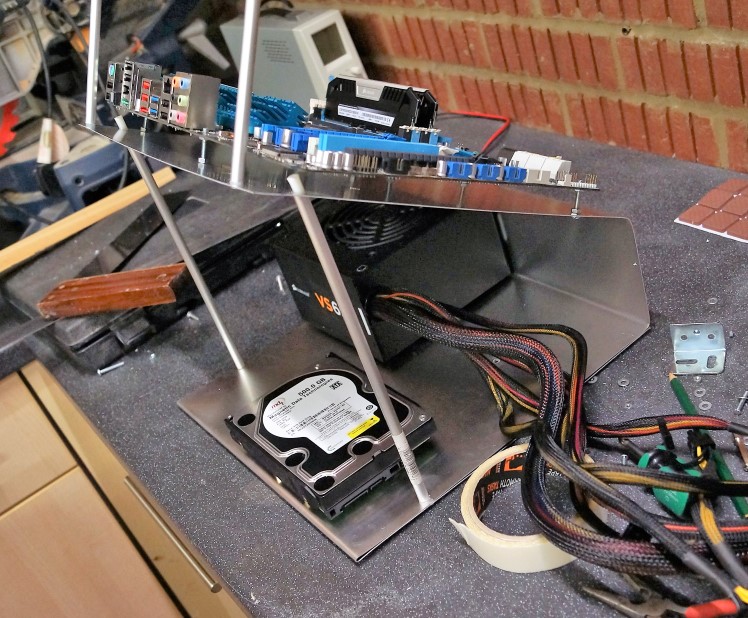
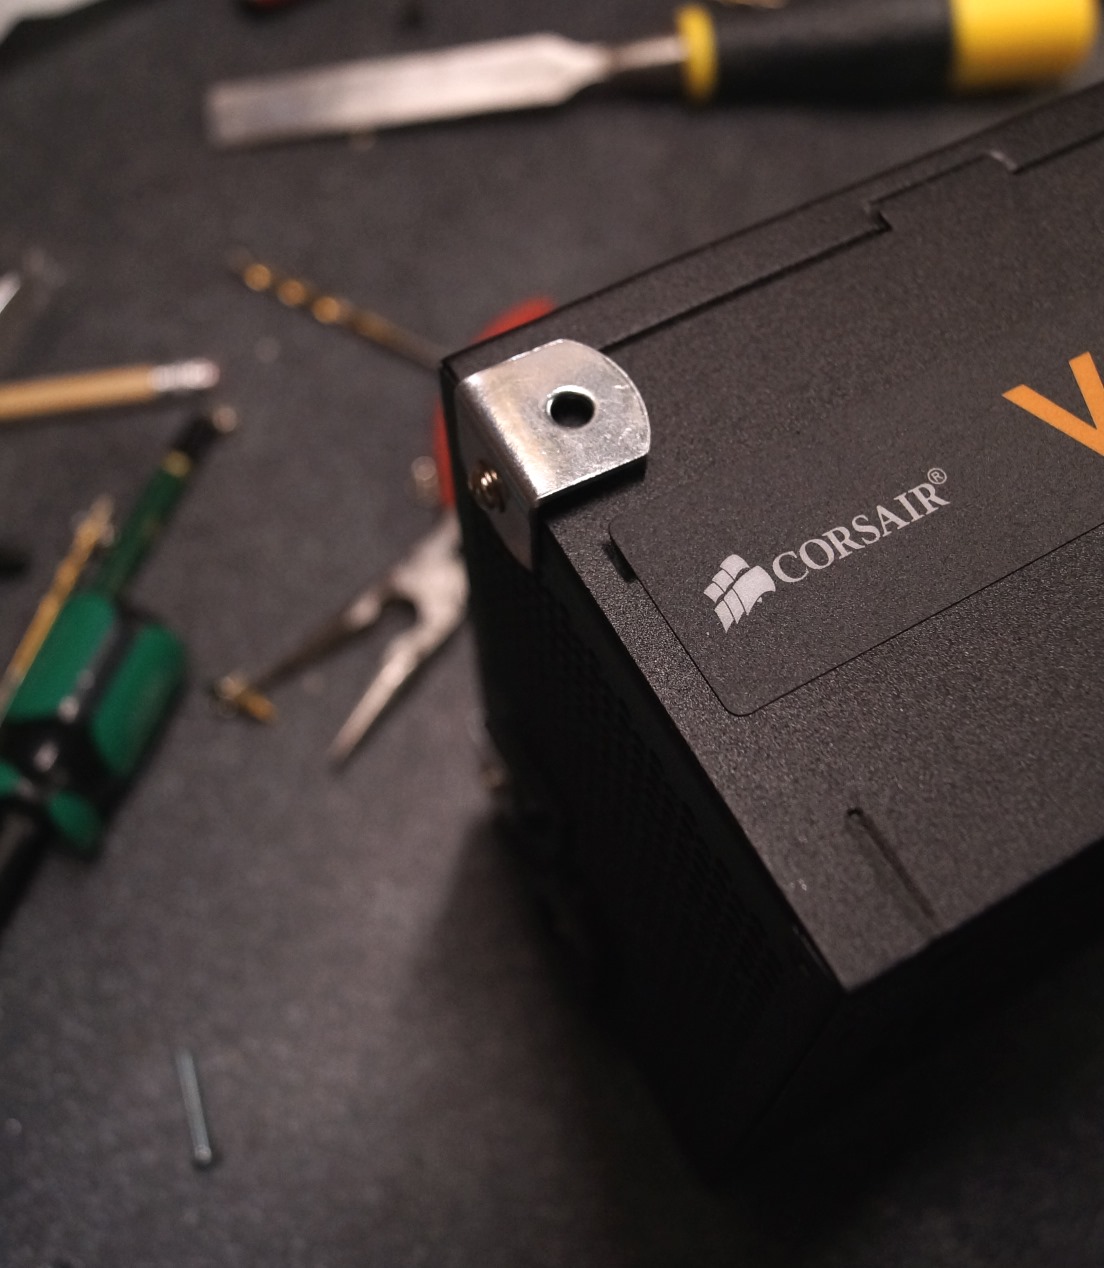
Using the two metal "L" shape brackets I then screwed them into the power supply. On the other side of the brackets I used some double sided tape, I could then firmly press the power supply into place.
Finally I cut out a small hole for the power switch and another larger hole for the power supply cables to run through.
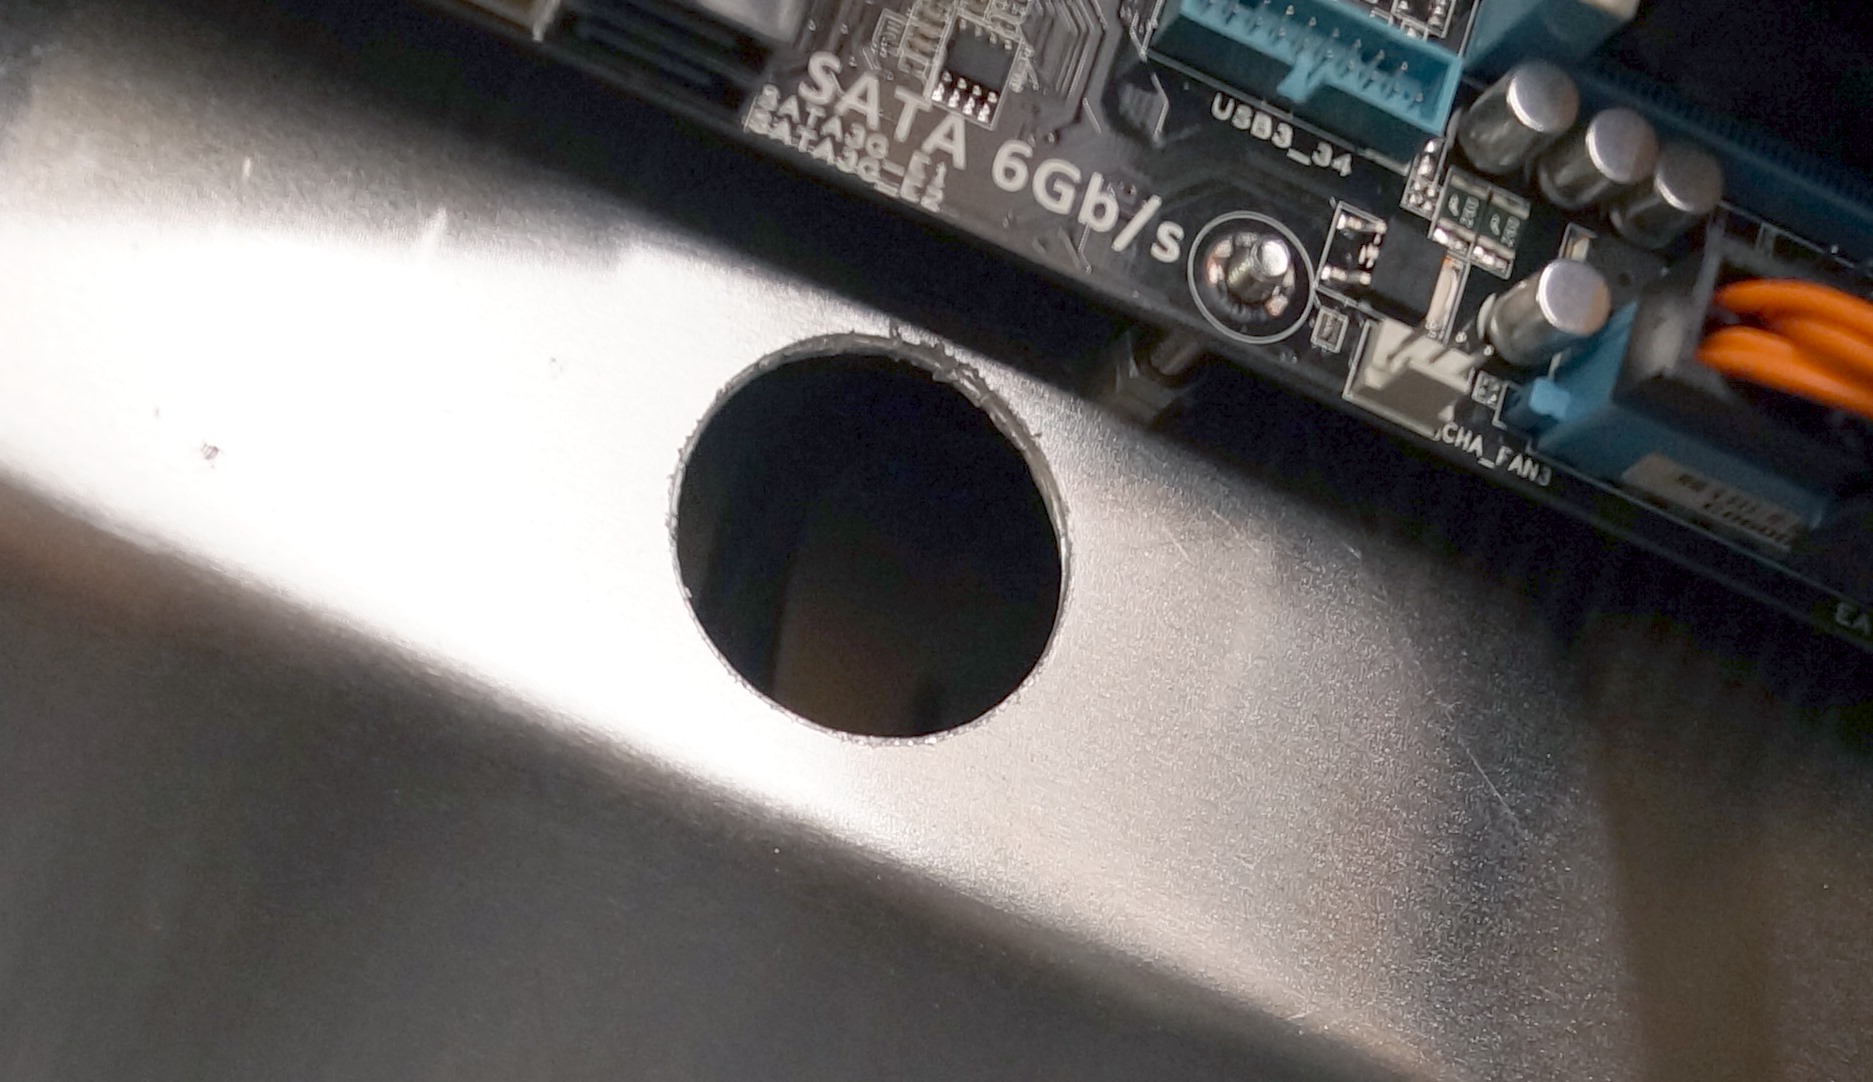
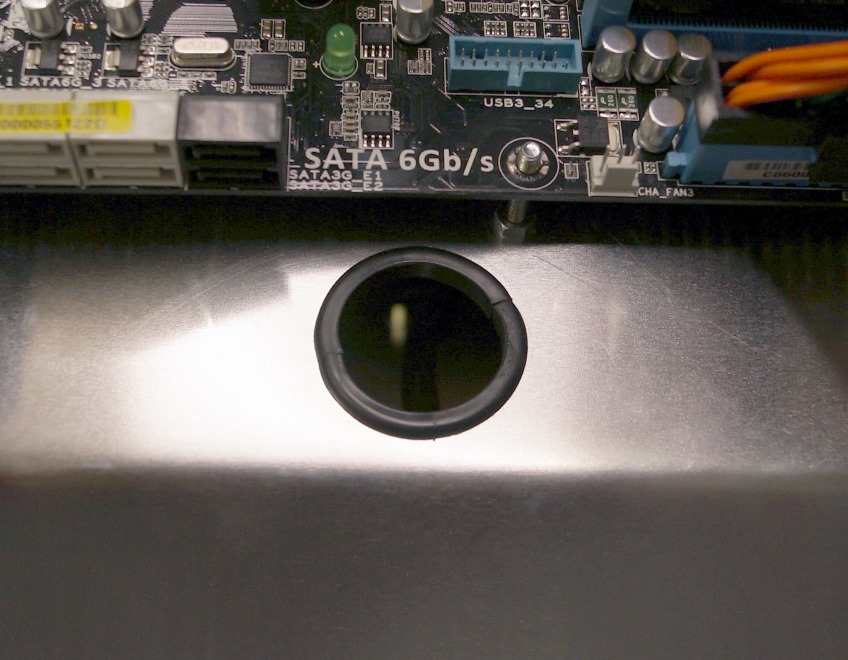
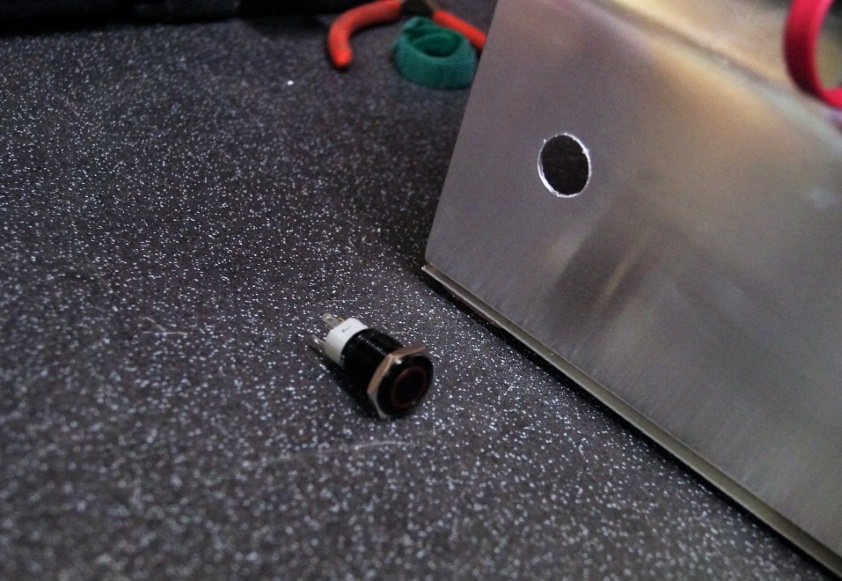
That's it! after soldering on the cables to the power switch it was time to test!
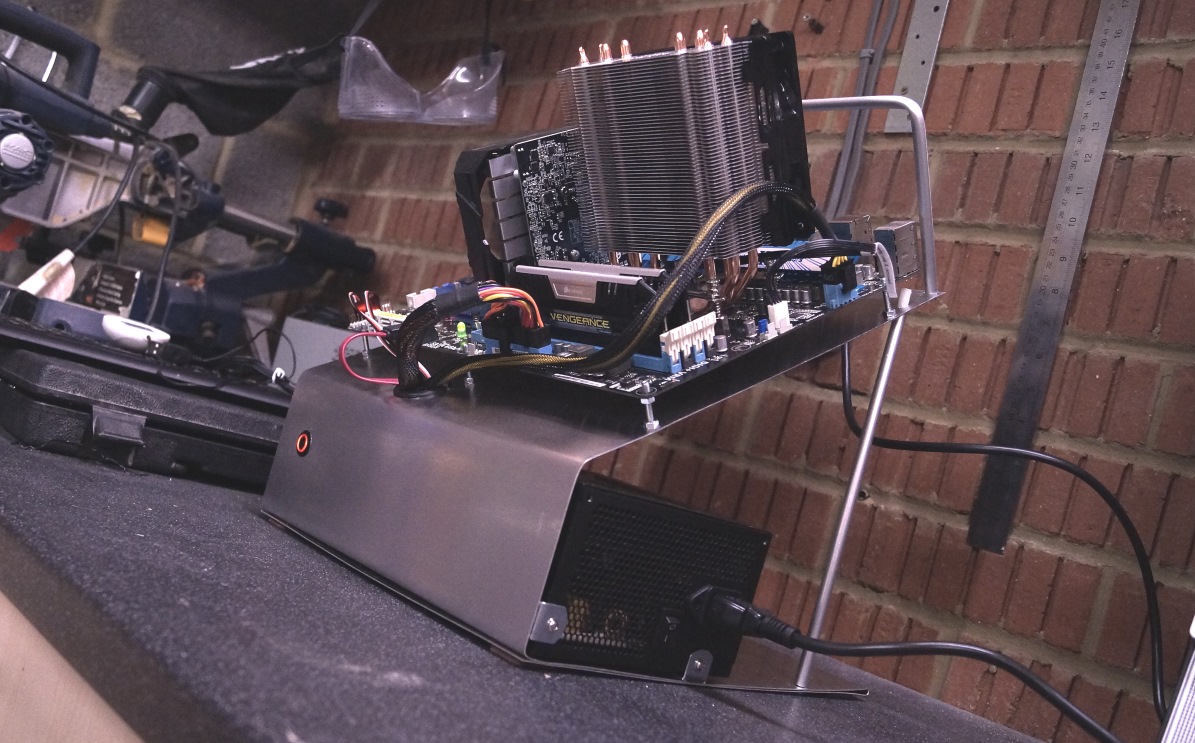
DIY Benchmarking PC Case Video
- Details
- Written by: Mat White
- Category: How to
It's just great fun! and got plenty of power!!!
- Details
- Written by: Mat White
- Category: How to